3.5 HP or 6 HP Outboard Motor?
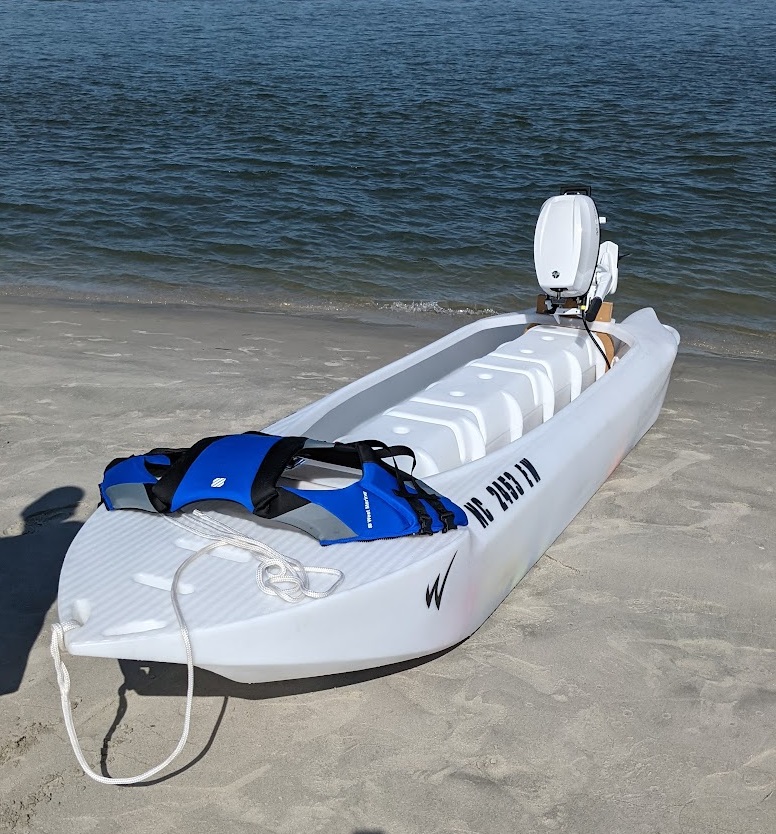
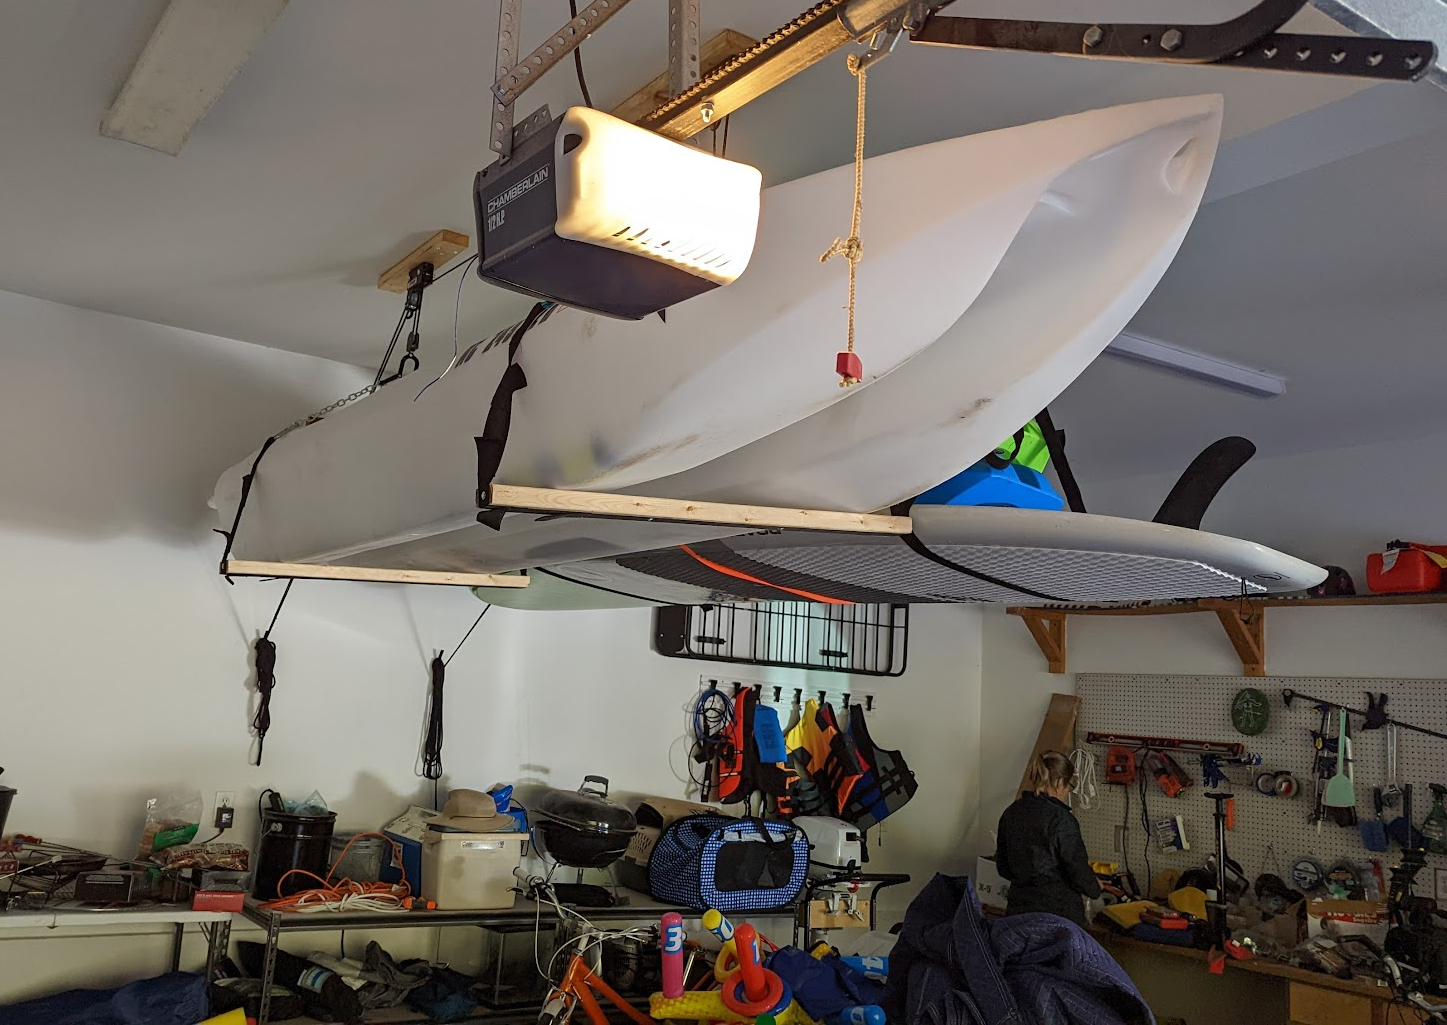
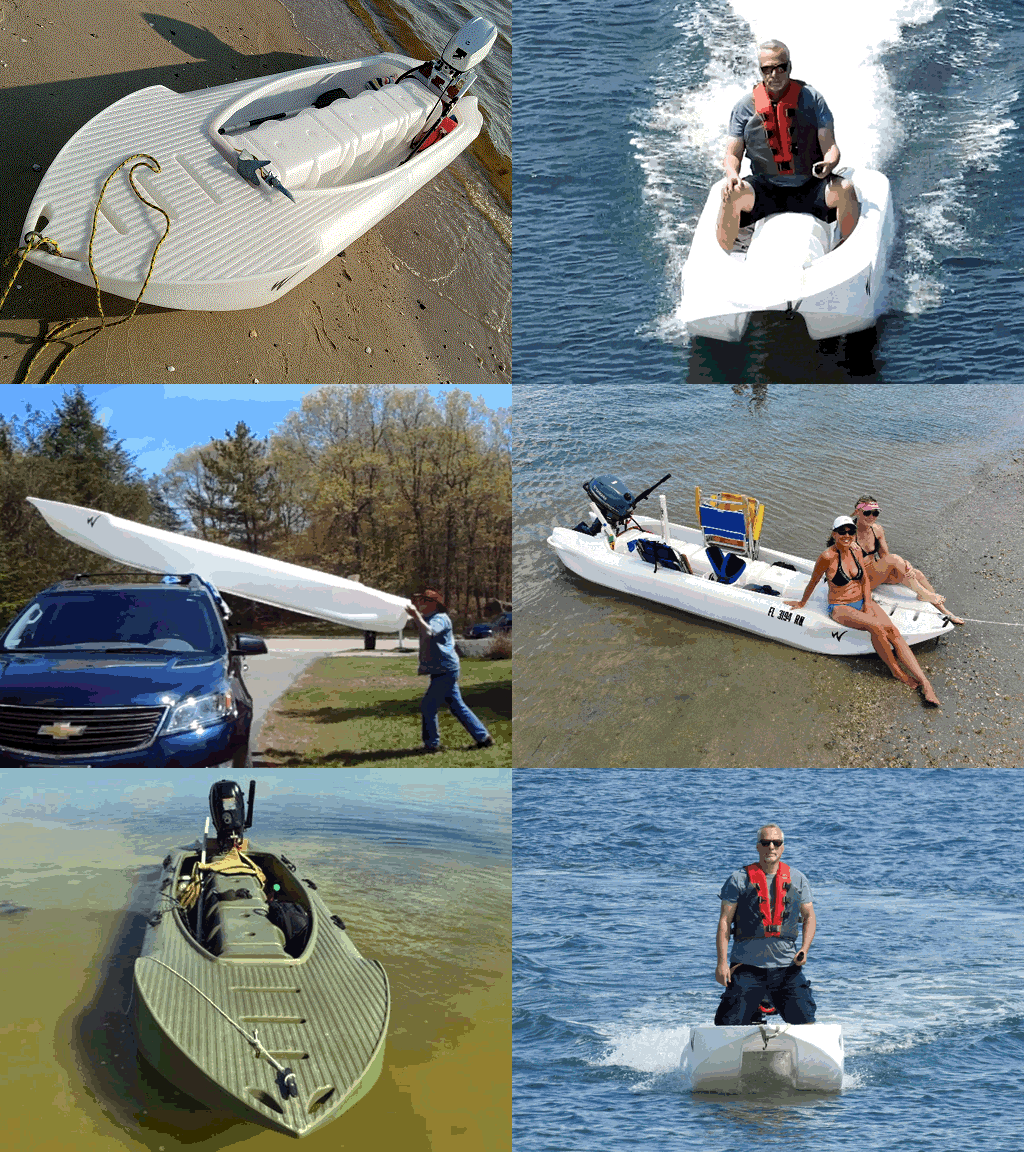
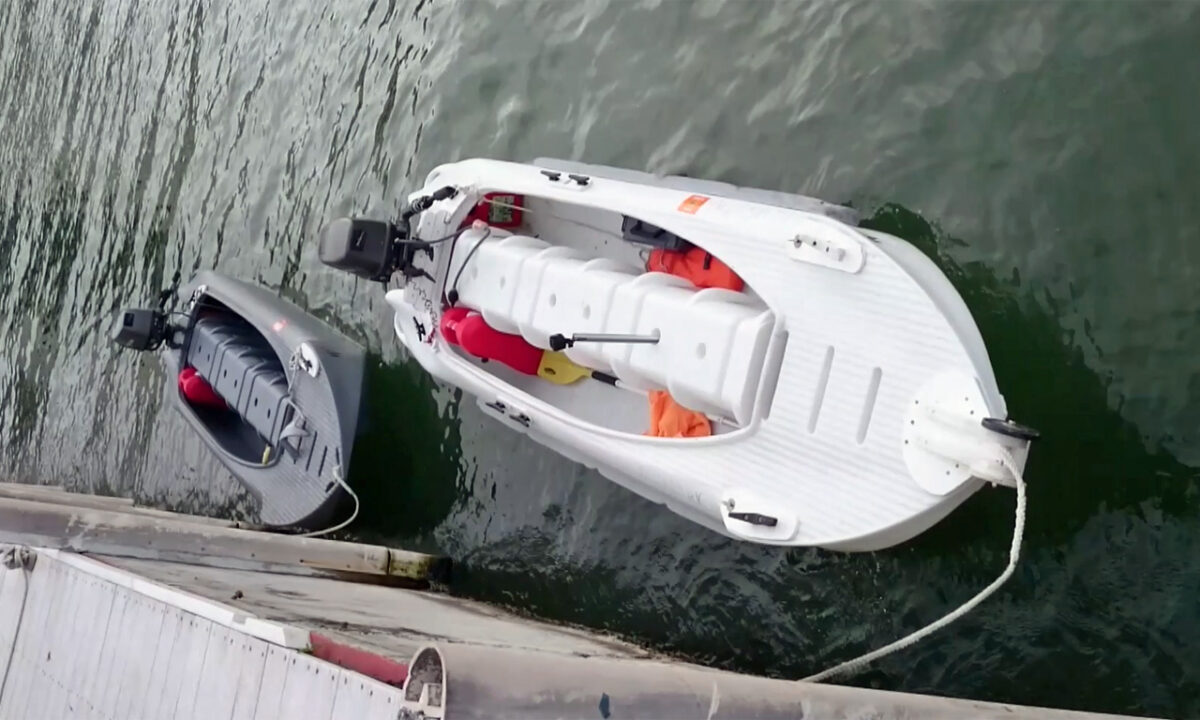
The Wavewalk S4 is the lightest portable microskiff that you can use without having to compromise on stability, performance, seaworthiness, or carrying capacity.
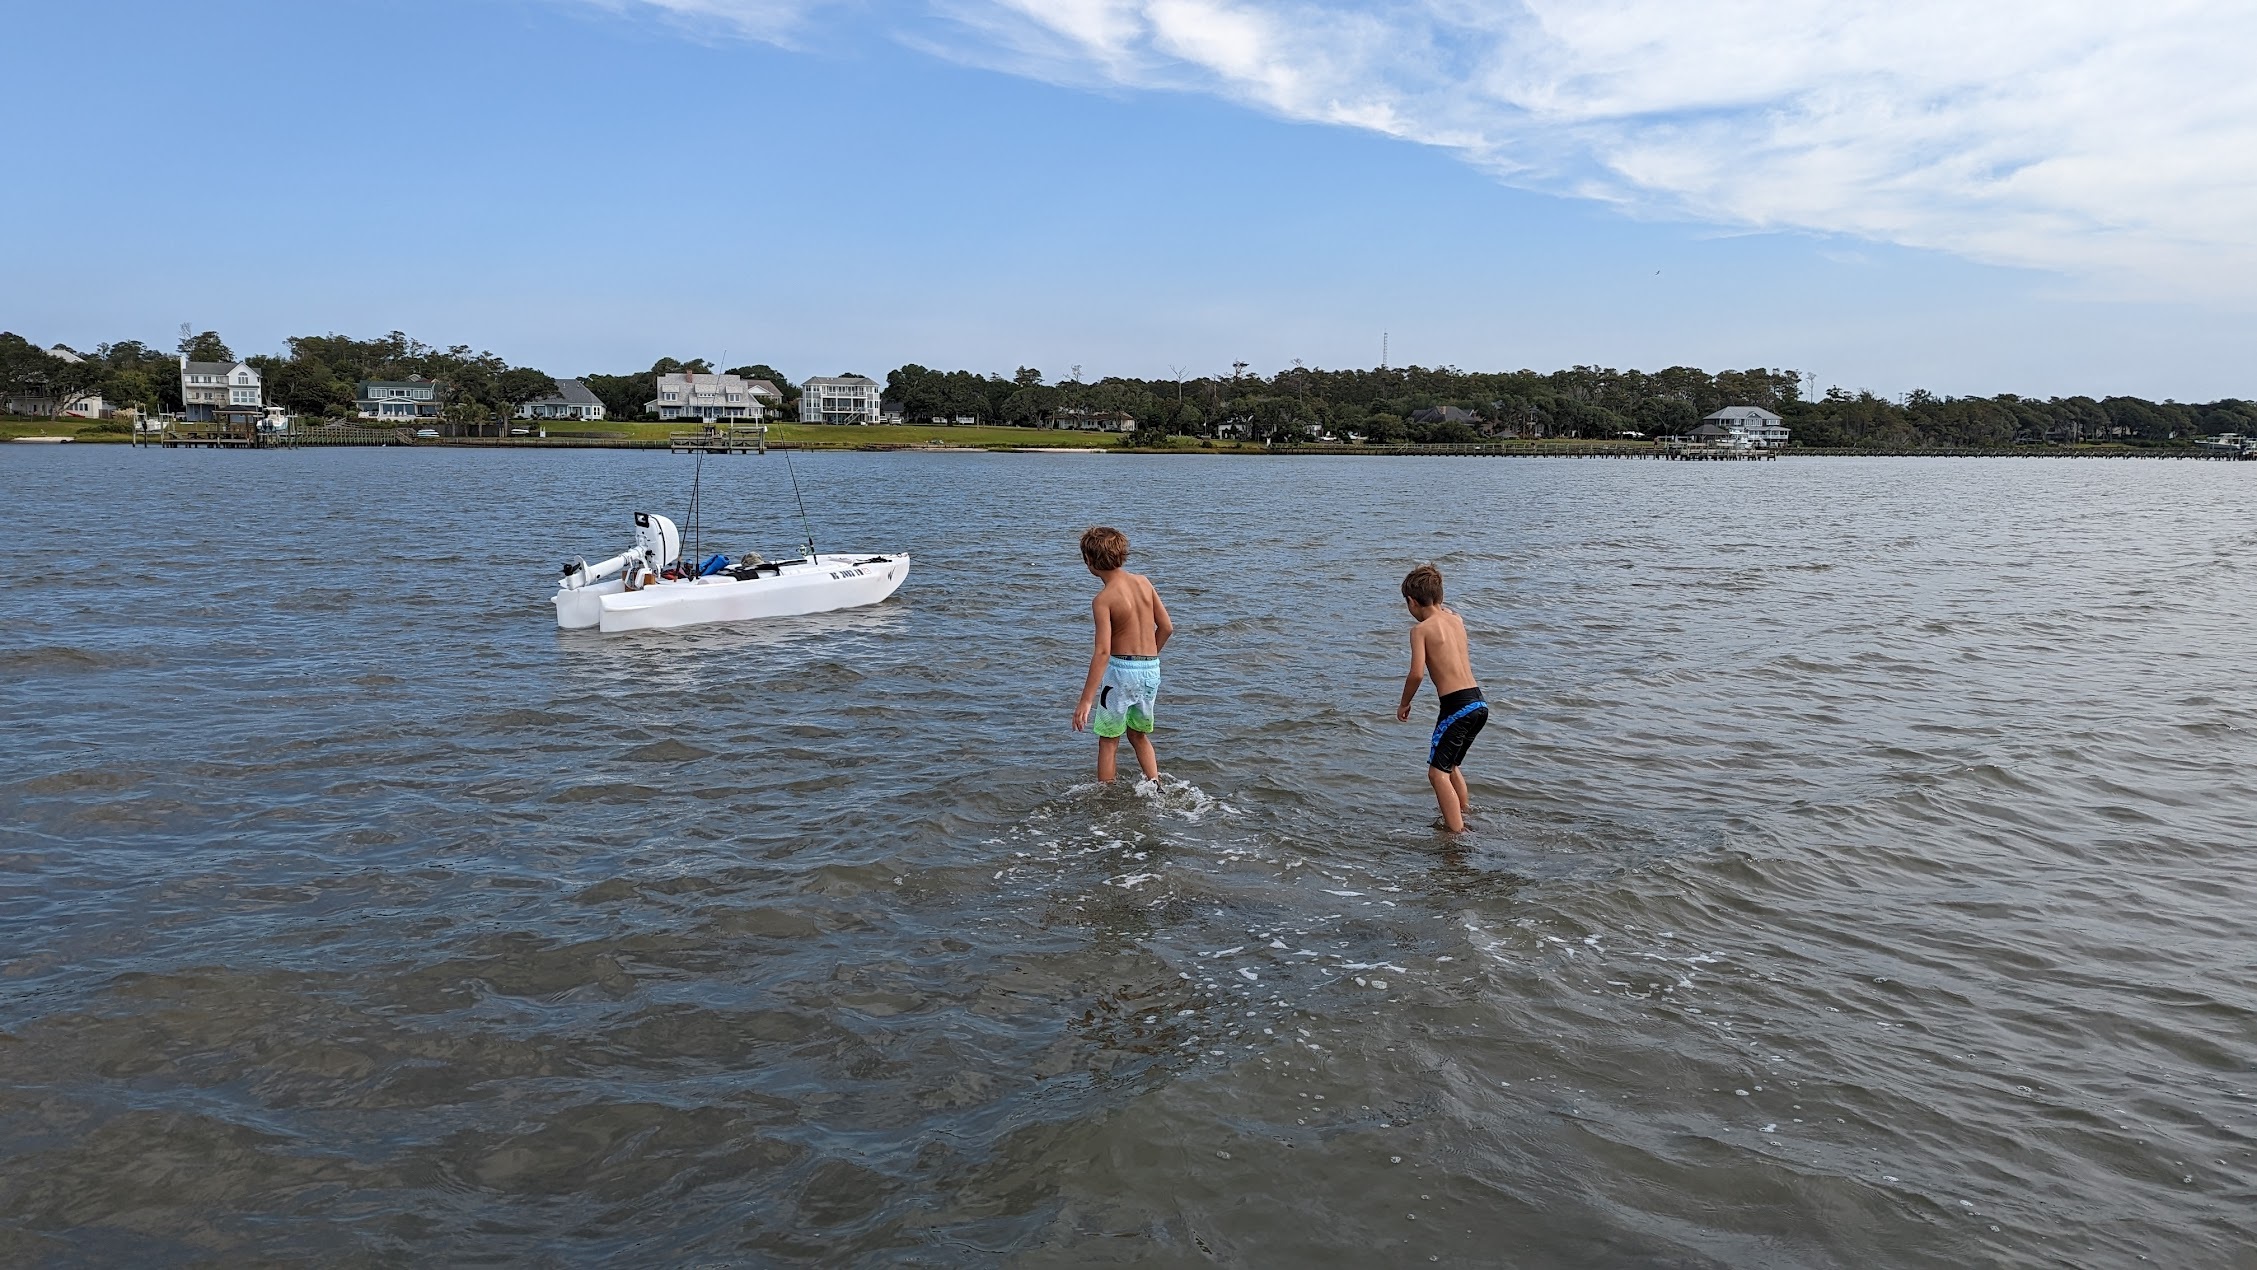
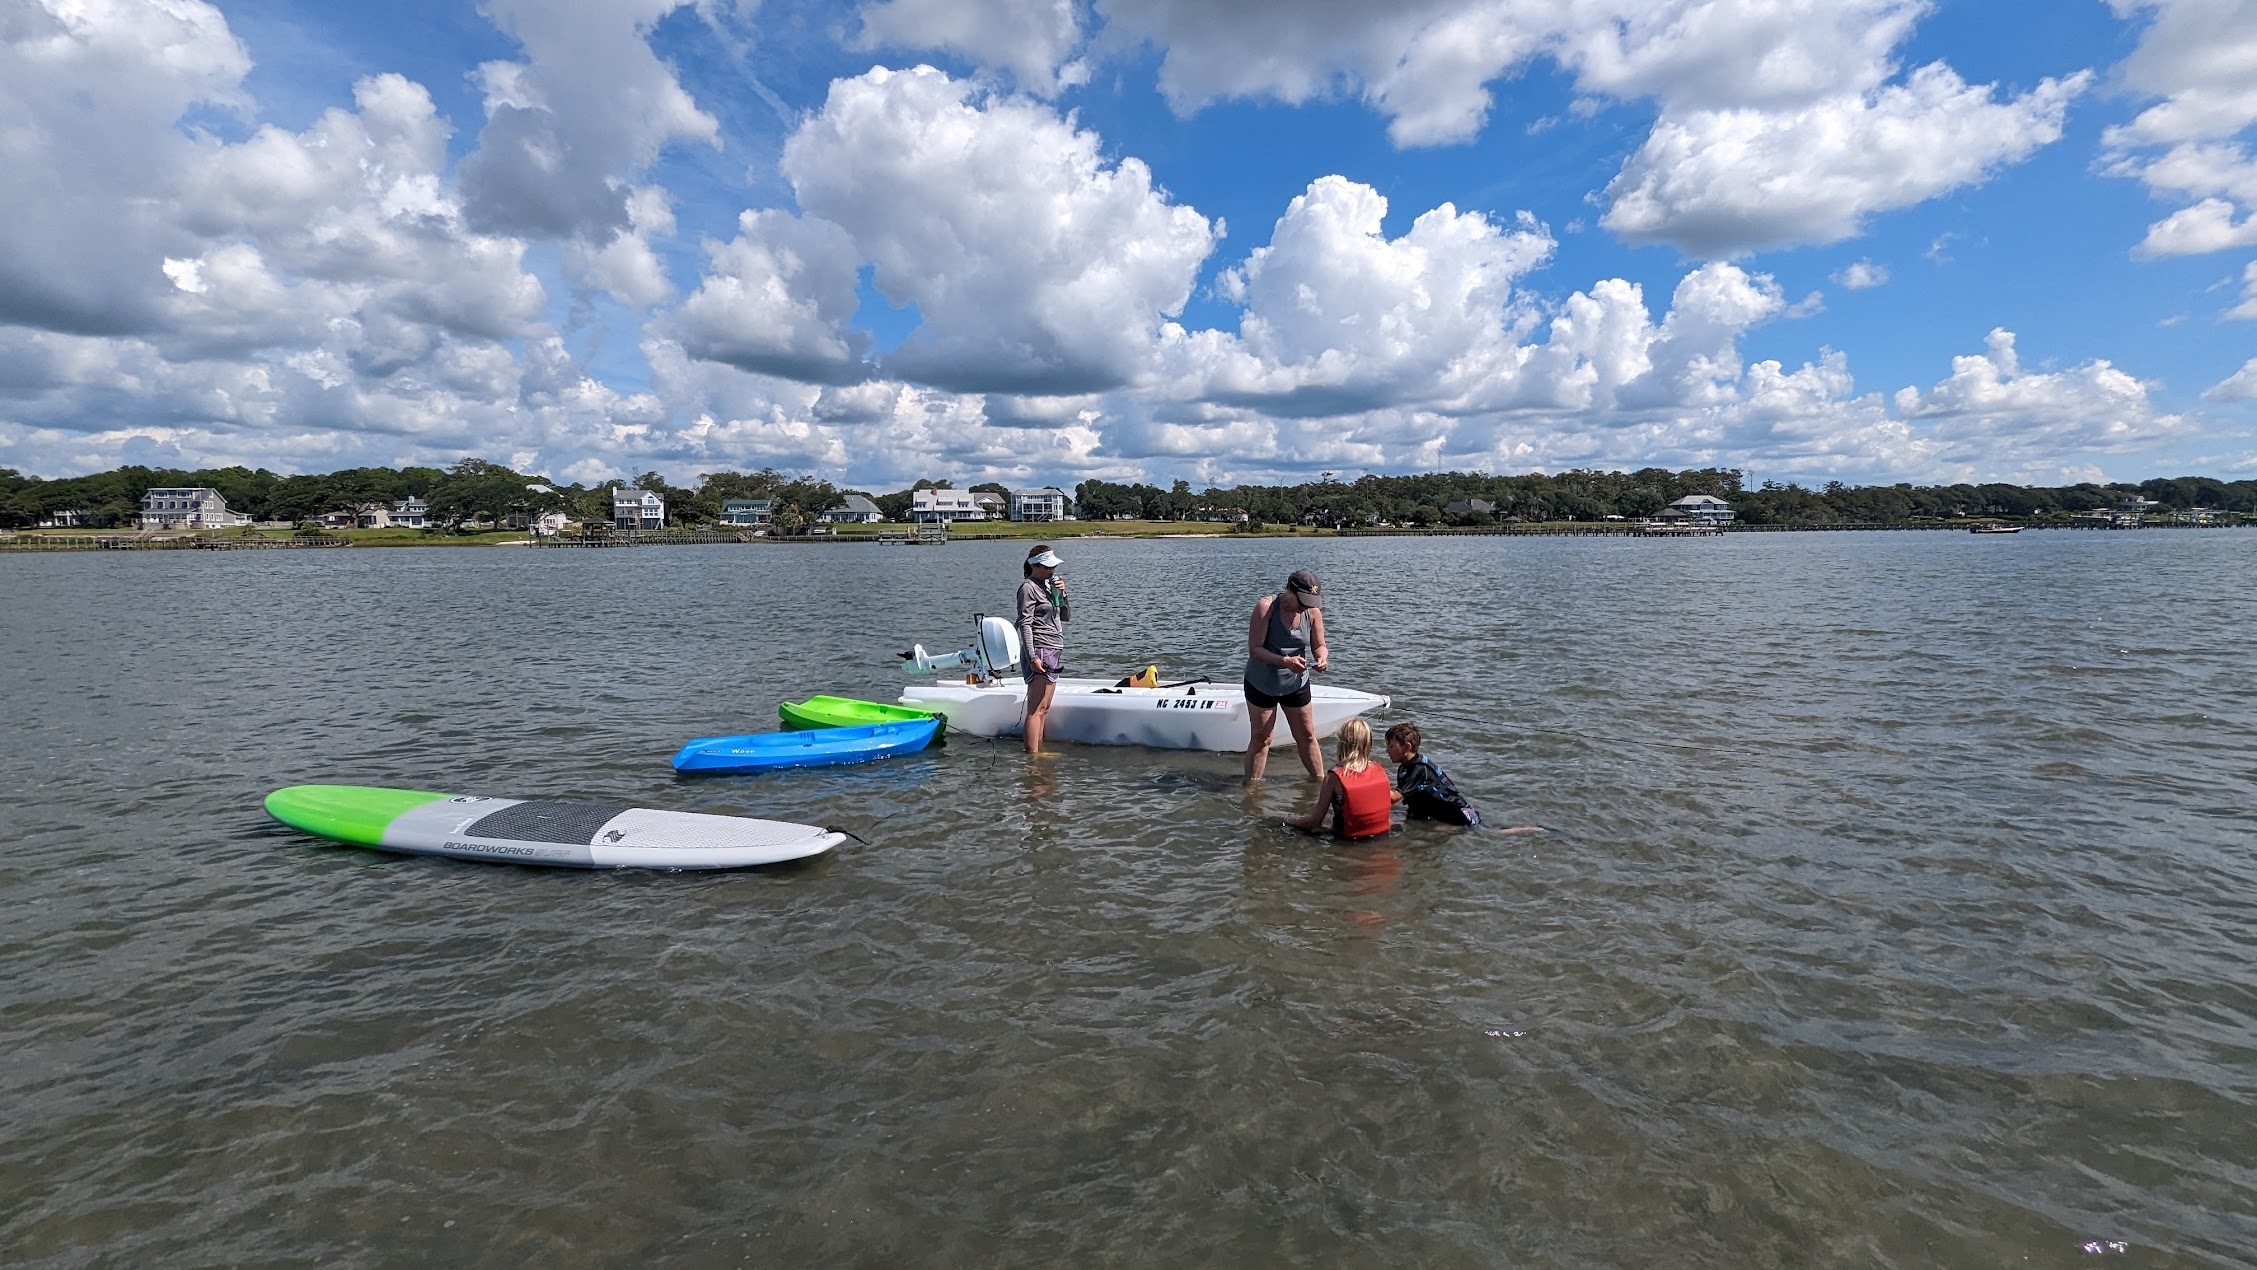
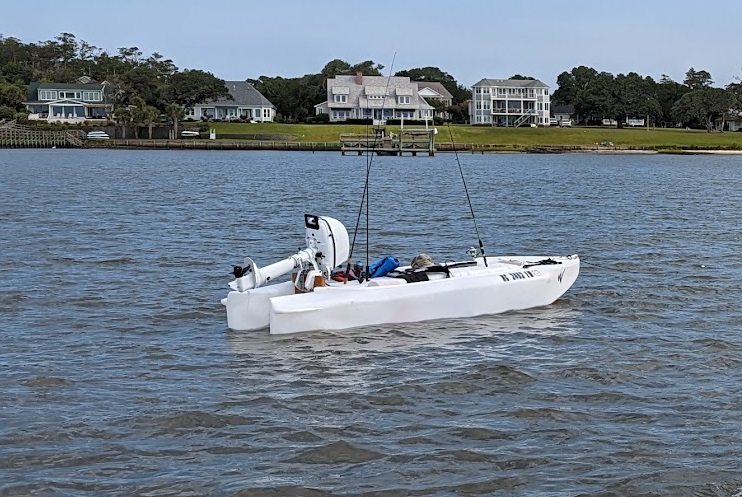
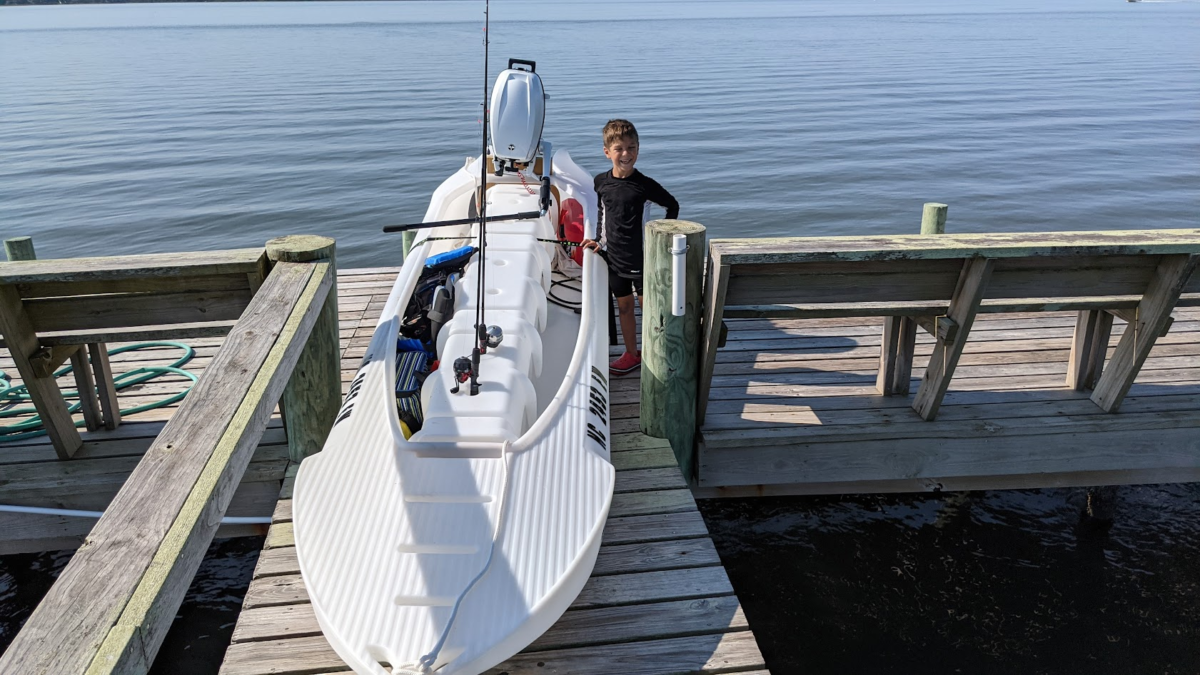
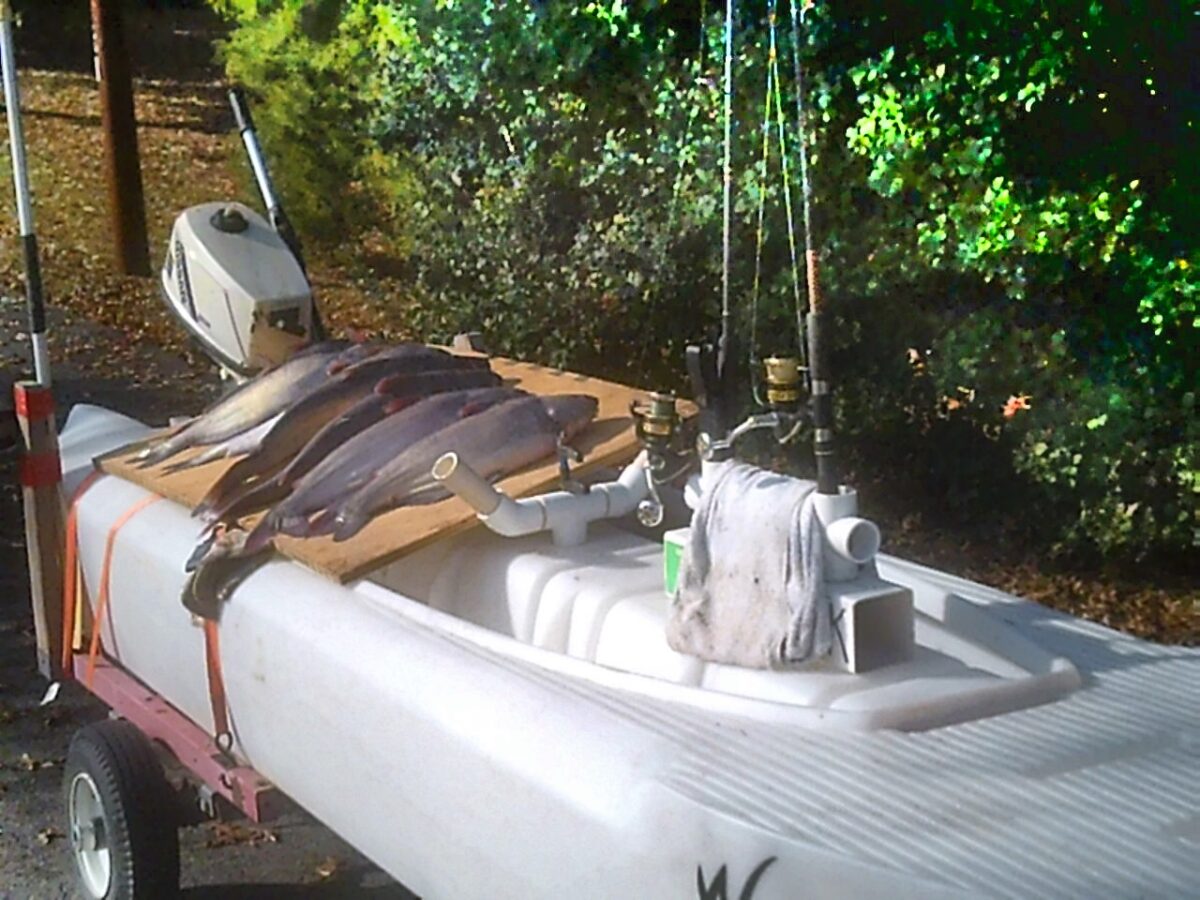
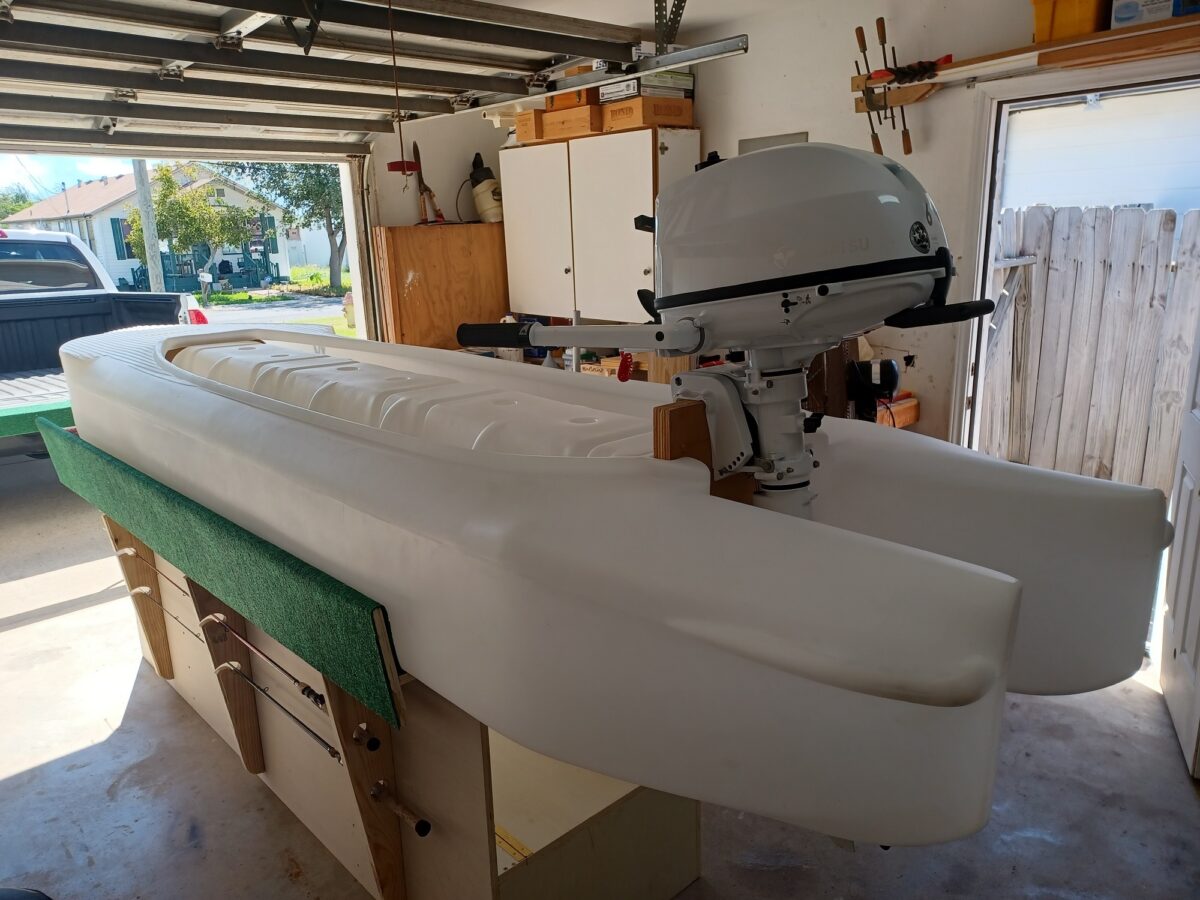
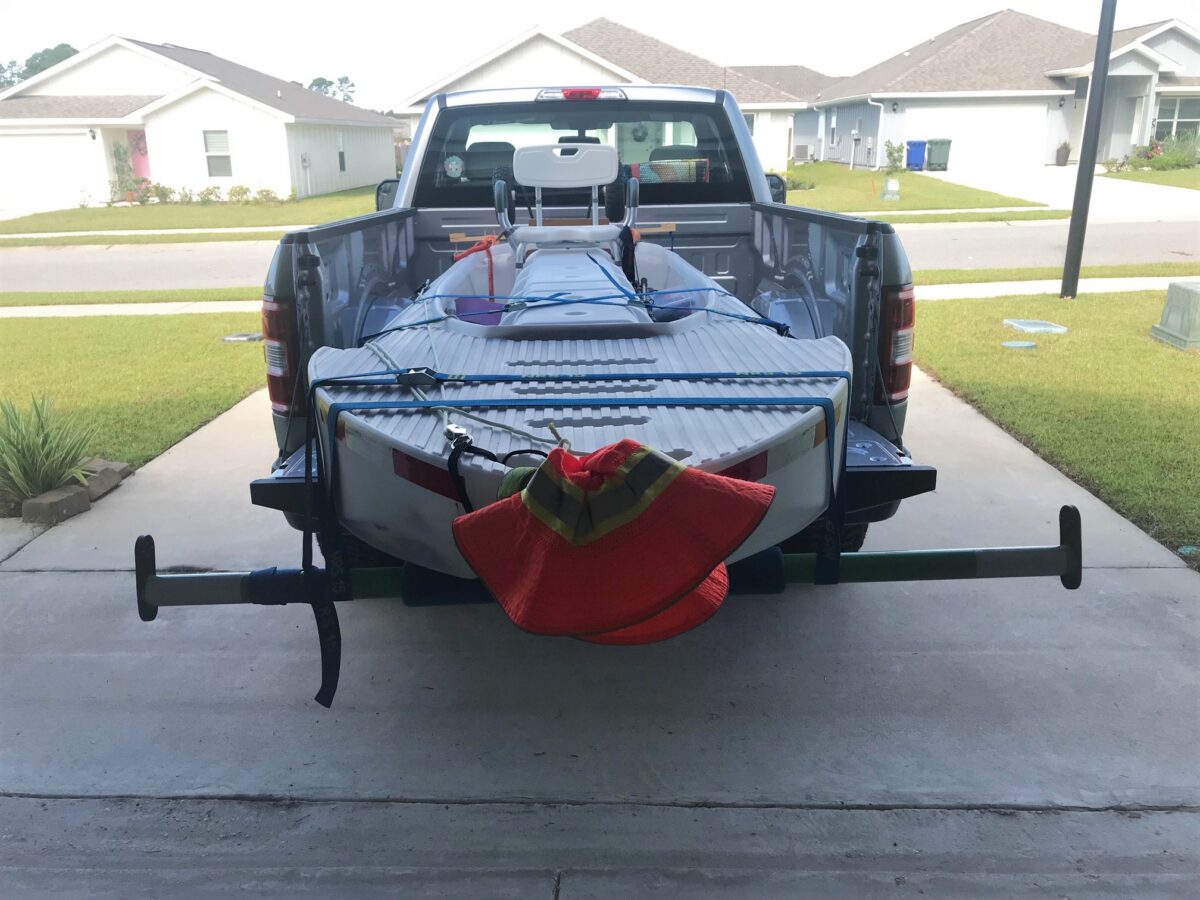
The S4 can be powered by a 6 HP outboard gas motor that’s powerful enough to work as an auxiliary motor (“kicker”) for 3,000 lbs sailboats, you can drive it in the ocean without ever getting seasick, it can comfortably carry three adult passengers on board in choppy water, and you can pull it through rough terrain when it’s attached to a lightweight wheel cart.
Weight, Power, and Speed
Pulling a wheel cart loaded with a 100 lbs microskiff outfitted with a 60 lbs 6 HP motor is easy when you go over pavement, even terrain, mowed grass, and other generally flat, regular, and compacted terrain. It’s more difficult when you have to pull it up a sandy beach, or a winding trail in the woods that’s riddled with rocks and tree roots.
There are two ways to improve the S4’s portability, which are to outfit its wheel cart with bigger and wider wheels, and to reduce your load by using a lighter motor, that is a less powerful one.
A 20″ Long (L) 6 HP outboard weighs a little over 60 lbs, and a 3.5 HP Long (L) motor weighs almost 20 lbs less, that is a little over 40 lbs. Reducing the total weight that you need to pull (I.E. boat + motor) from 160 lbs to 140 lbs can be meaningful, and may be worth considering.
Driving the S4 with a 6 HP motor is fun, and fun is very important when you’re talking boating. Going fast can be important too, since you may want to get as quickly as you can to where the fish are, or at least where you hope you’d find them.
A 3.5 HP makes the S4 go slower than a 6 HP does. However, using 3.5 HP motor does not reduce the boat’s seaworthiness or its carrying capacity, and speed is the only thing you’d sacrifice by using one, compared to using a 6 HP motor. Ironically, going more slowly in big waves could result is getting splashed by more spray, since a 6 HP is powerful enough to get the S4 to cross the waves on a plane, from crest to crest, while going more slowly with a 3.5 HP motor will force the S4 to go up and down the waves, negotiating each wave individually, and getting sprayed occasionally.
The best ratio of weight to power in portable outboard motors
One figure that’s worth remembering when choosing a small, namely a portable outboard motor, regardless of its power: The best ratio of weight to power is about 1 lb to 10 HP. This 1/10 ratio, or close to it, can be found in several models from different brands (I.E. Tohatsu, Mercury), and the closer the motor is to this ratio, the better it would serve you in terms of power and portability.
Does the S4 work with short shaft (S) outboard motors?
No, it doesn’t. The S4 works only with 20″ Long (L) shaft motors.
Can I use a motor that’s smaller and lighter than a 3.5 HP motor with my S4 microskiff?
Yes, it’s possible, but doing so means that the S4 would be under powered, and its overall performance could be reduced to a level where you might not enjoy using it… (speed matters!)
Also, some 2.5 HP motors weigh as much as a 3.5 HP motor, which in some cases is basically a 2.5 HP motor that the manufacturer equipped with a high capacity carburetor.
Generally speaking, the smaller the motor the worse its weight to power ratio is, unless you use an air cooled motor instead of a water cooled one, but such extra small air cooled motors are much noisier than water cooled motors.
Carrying the motor by hand
You may need to carry the motor by hand, and while doing this with a 60 lbs motor may be possible for a young and strong man, there comes a time in life when one must be somehow less ambitious, and avoid overdoing things. This is to say that for many boaters, a 60 lbs motor is not portable in the full sense, and reducing this weight by almost a third, down to almost 40 lbs, can make a big difference.
More recommended reading and videos:
Do you have any questions for us?
