By Blaine Edison
Photos: Chuck Earls
I love my S4!
Thank you for creating this beautiful watercraft 👍
Photos: Chuck Earls
I love my S4!
Thank you for creating this beautiful watercraft 👍
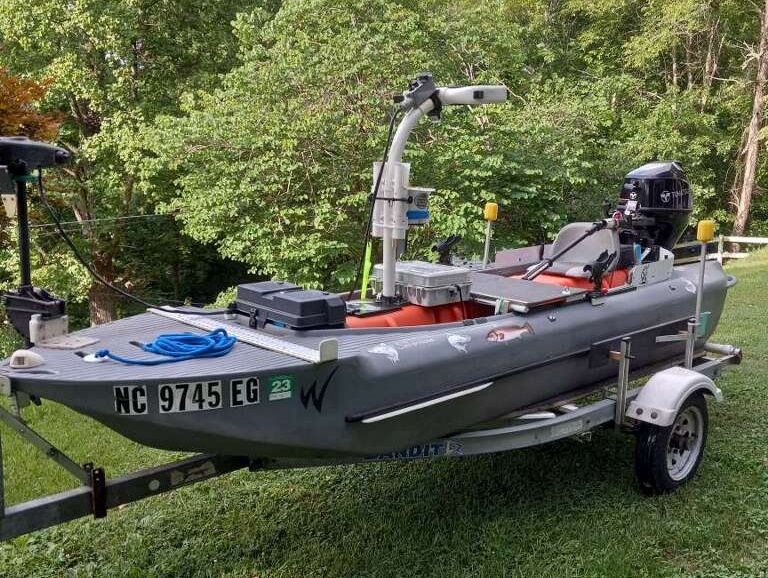
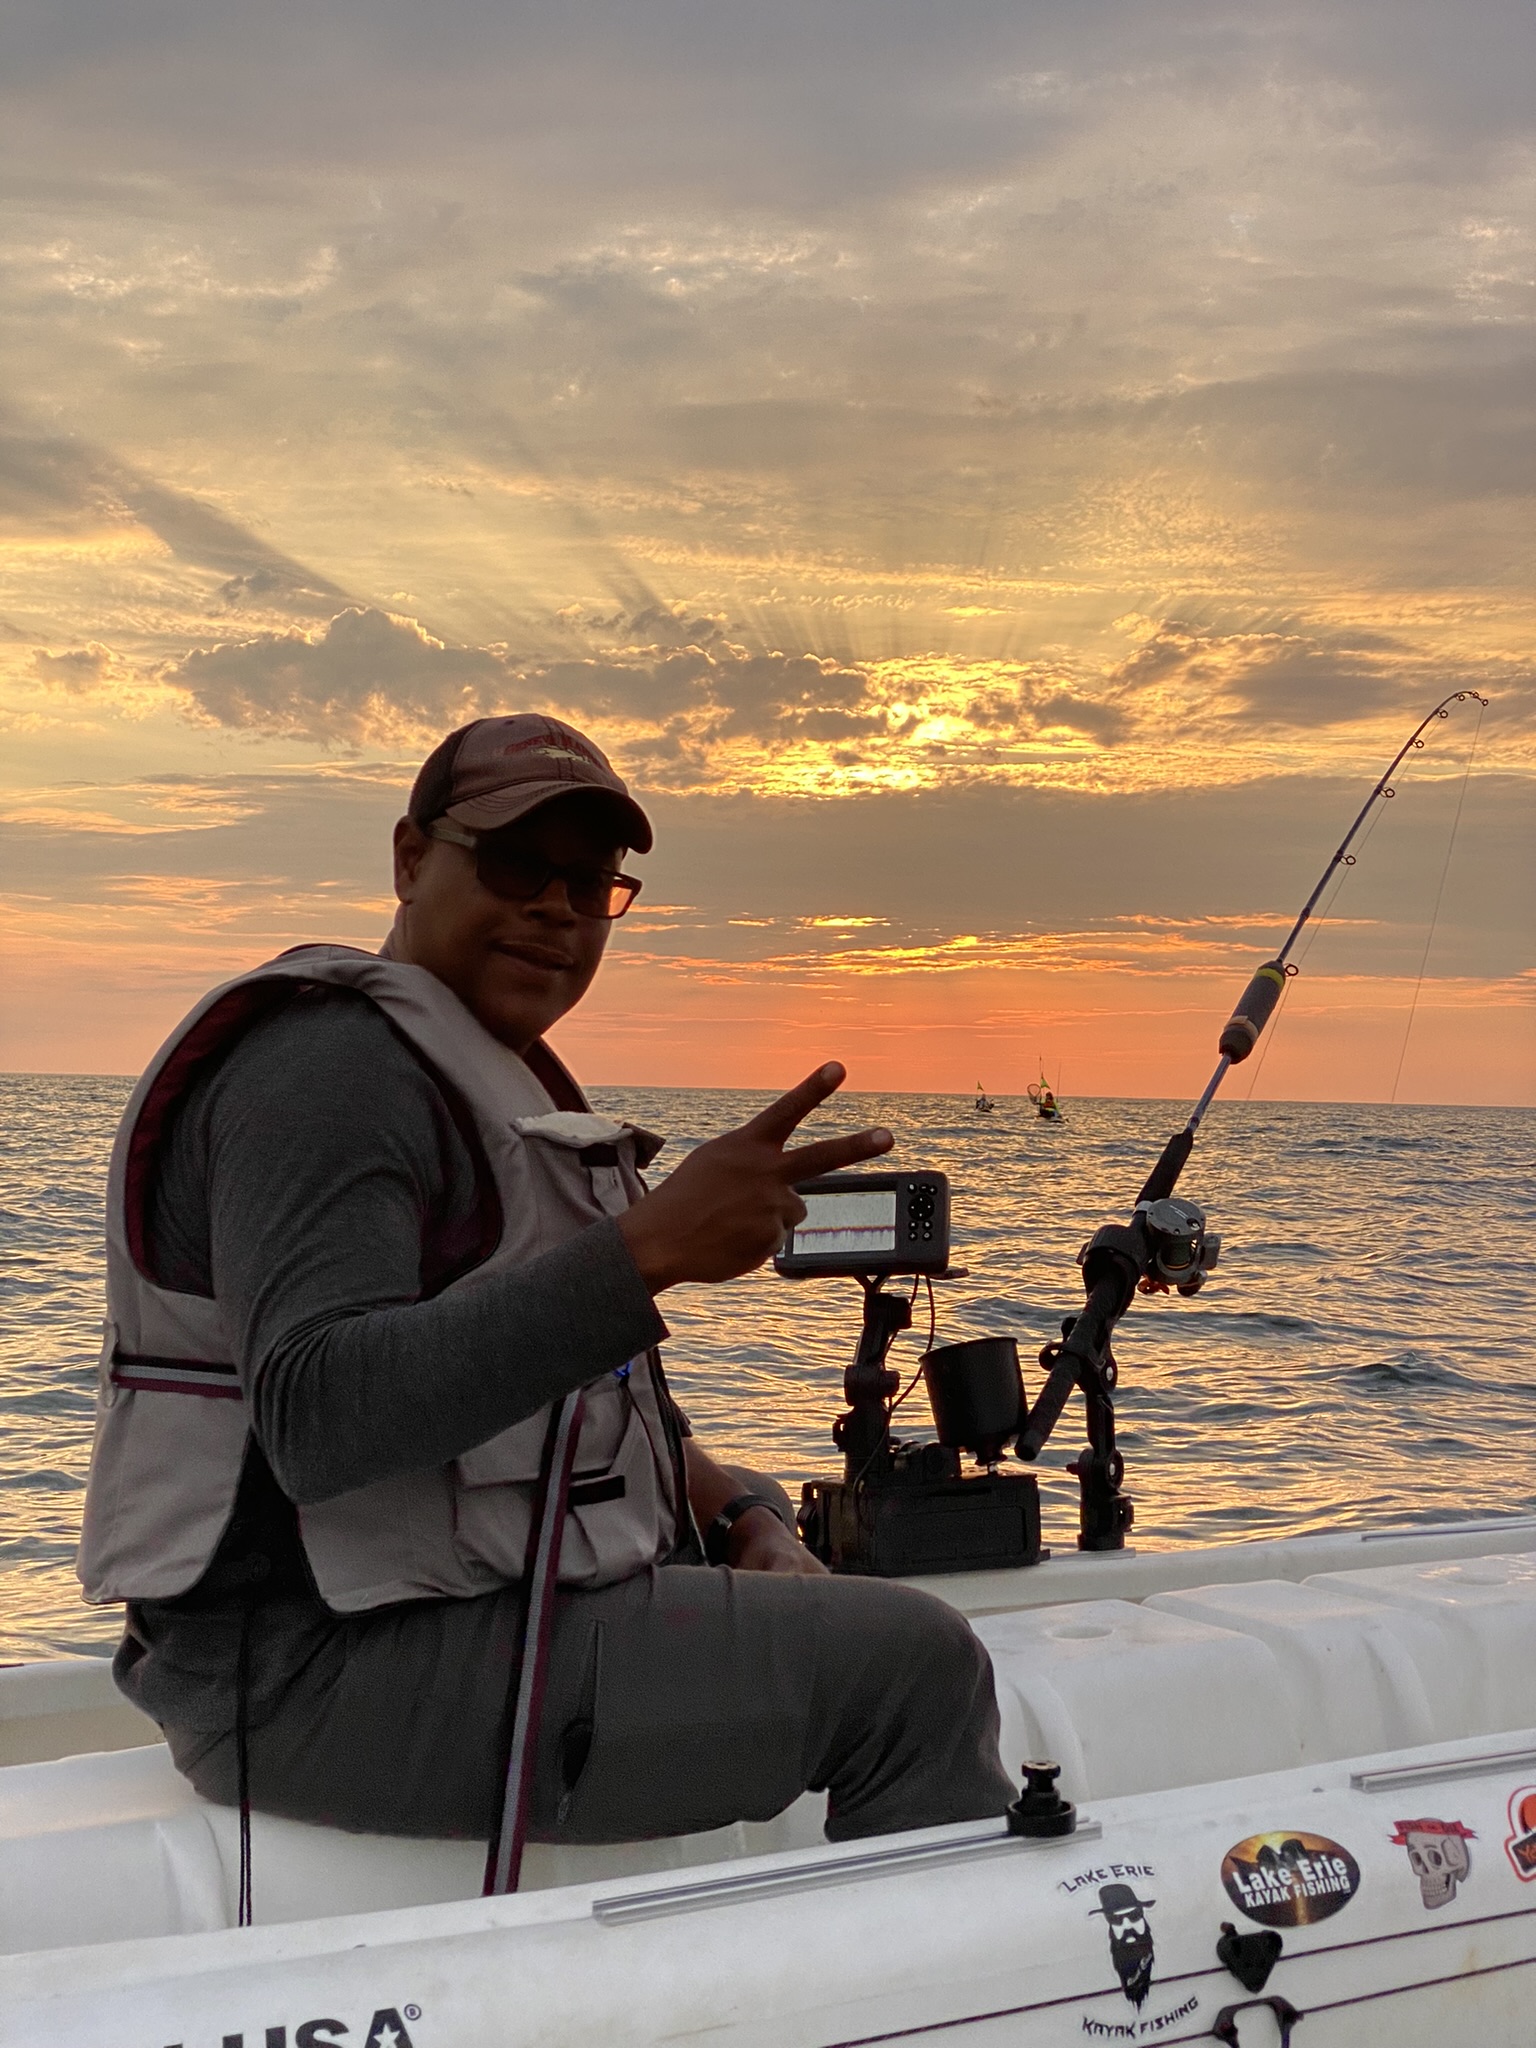
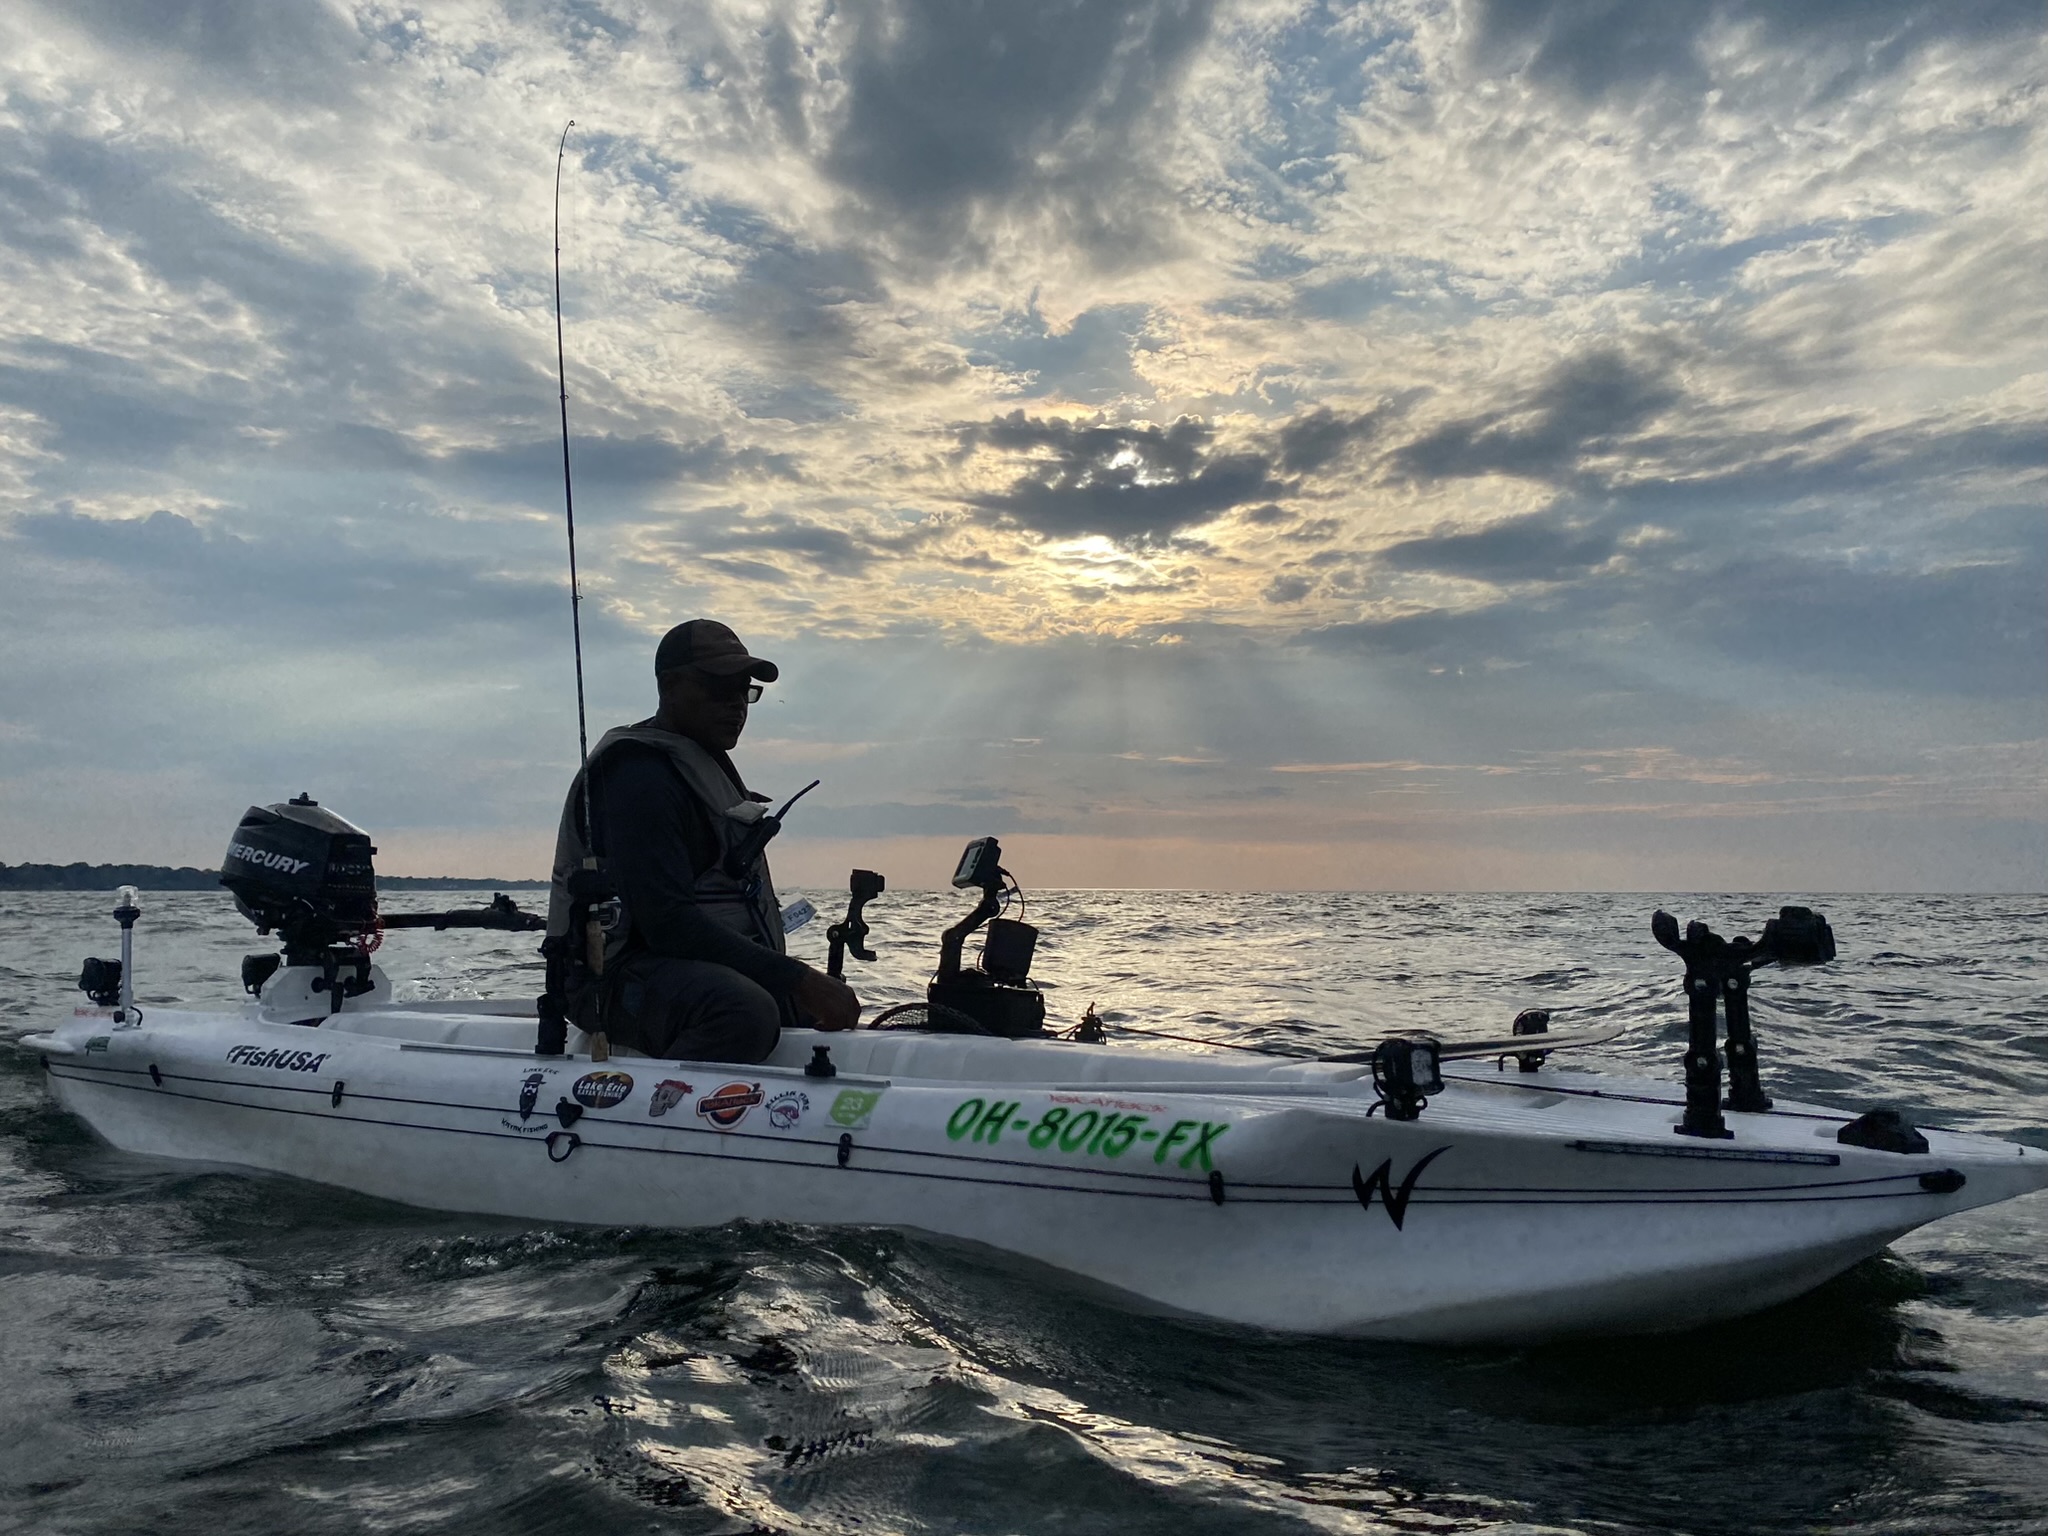
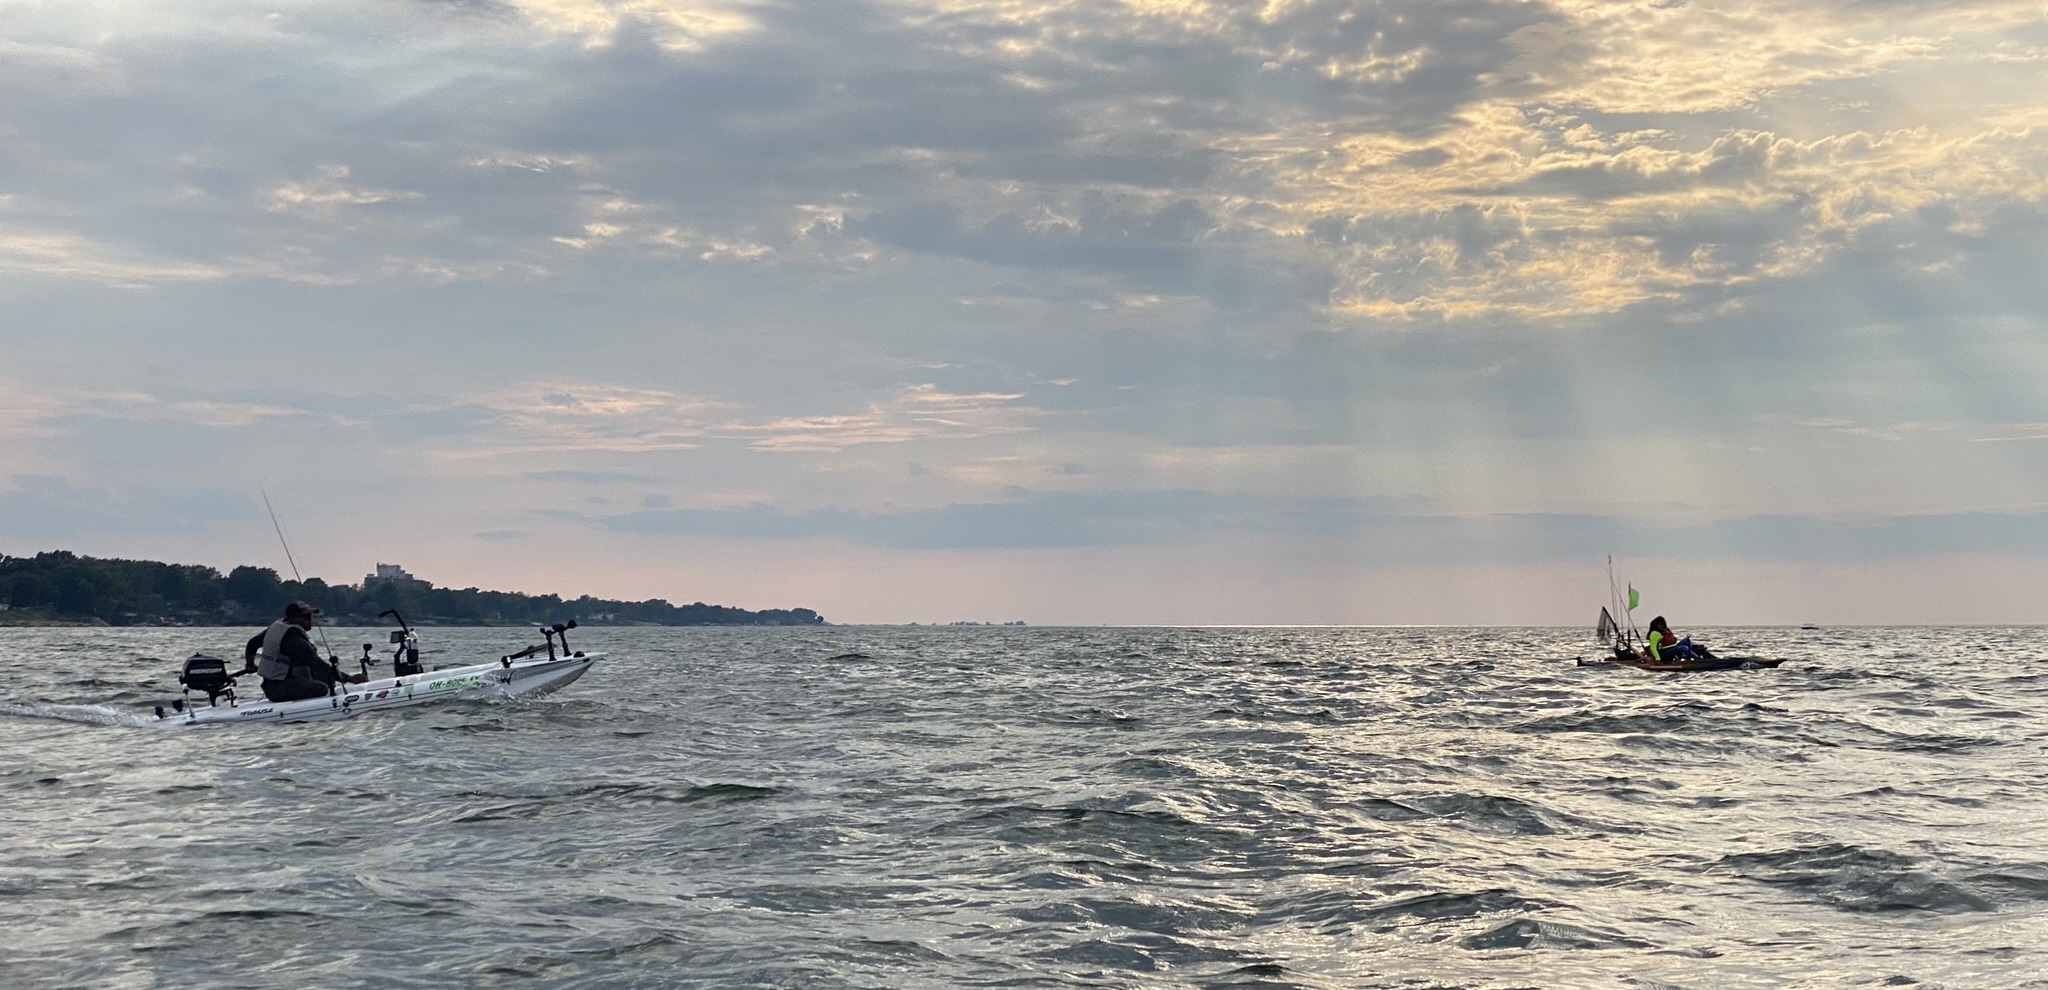
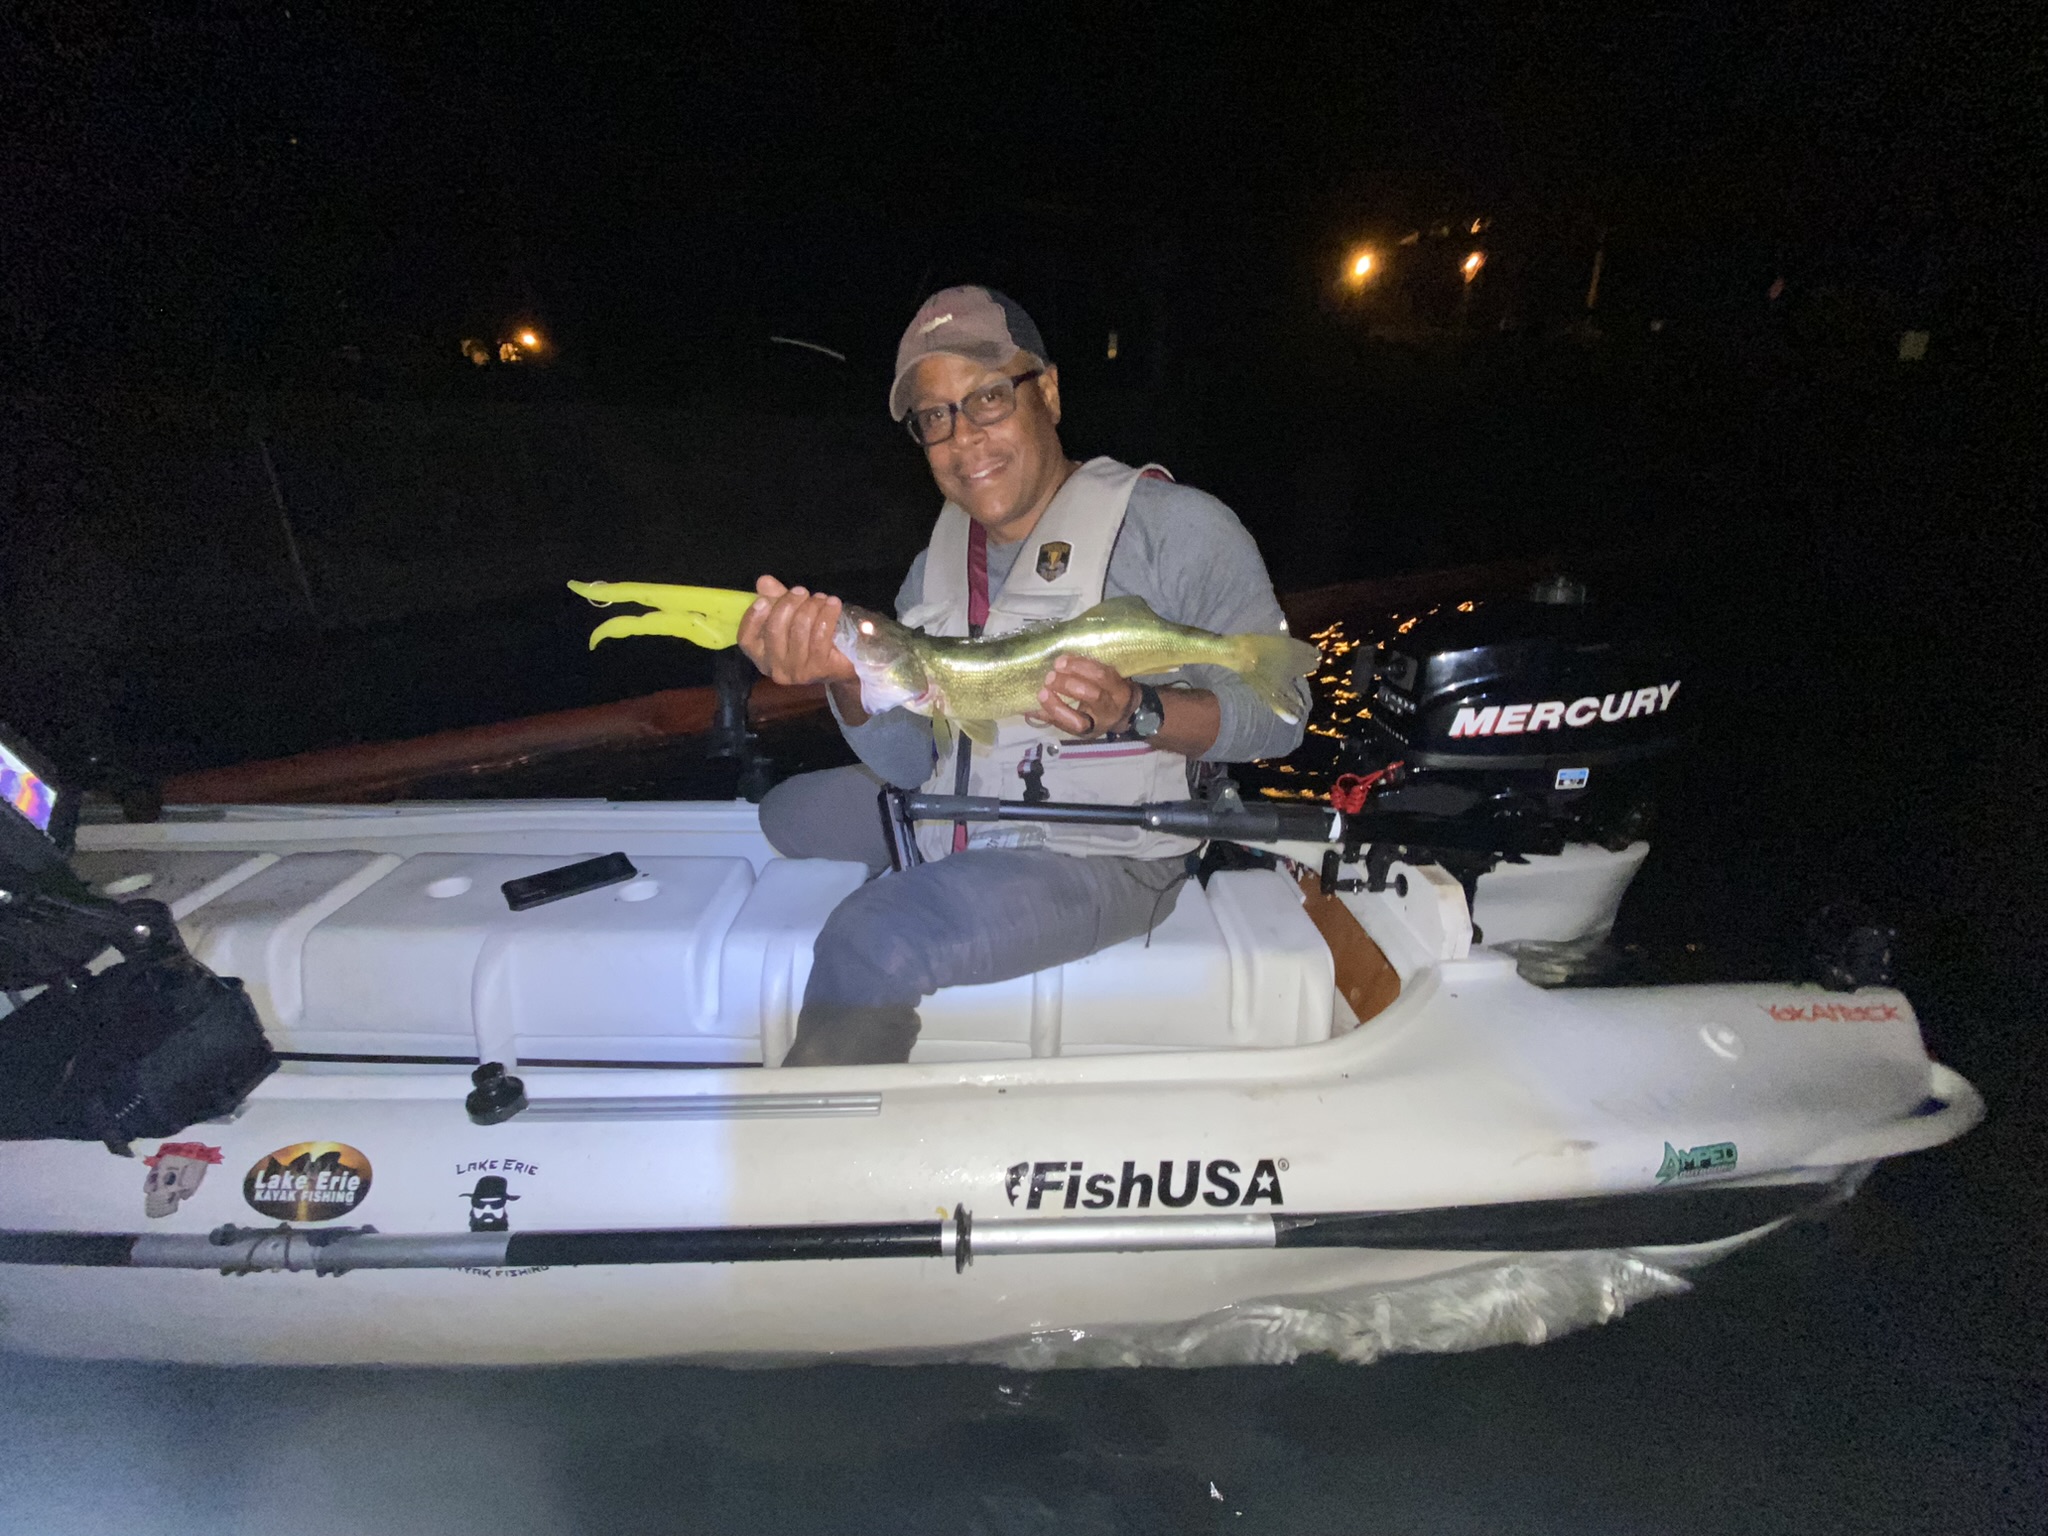
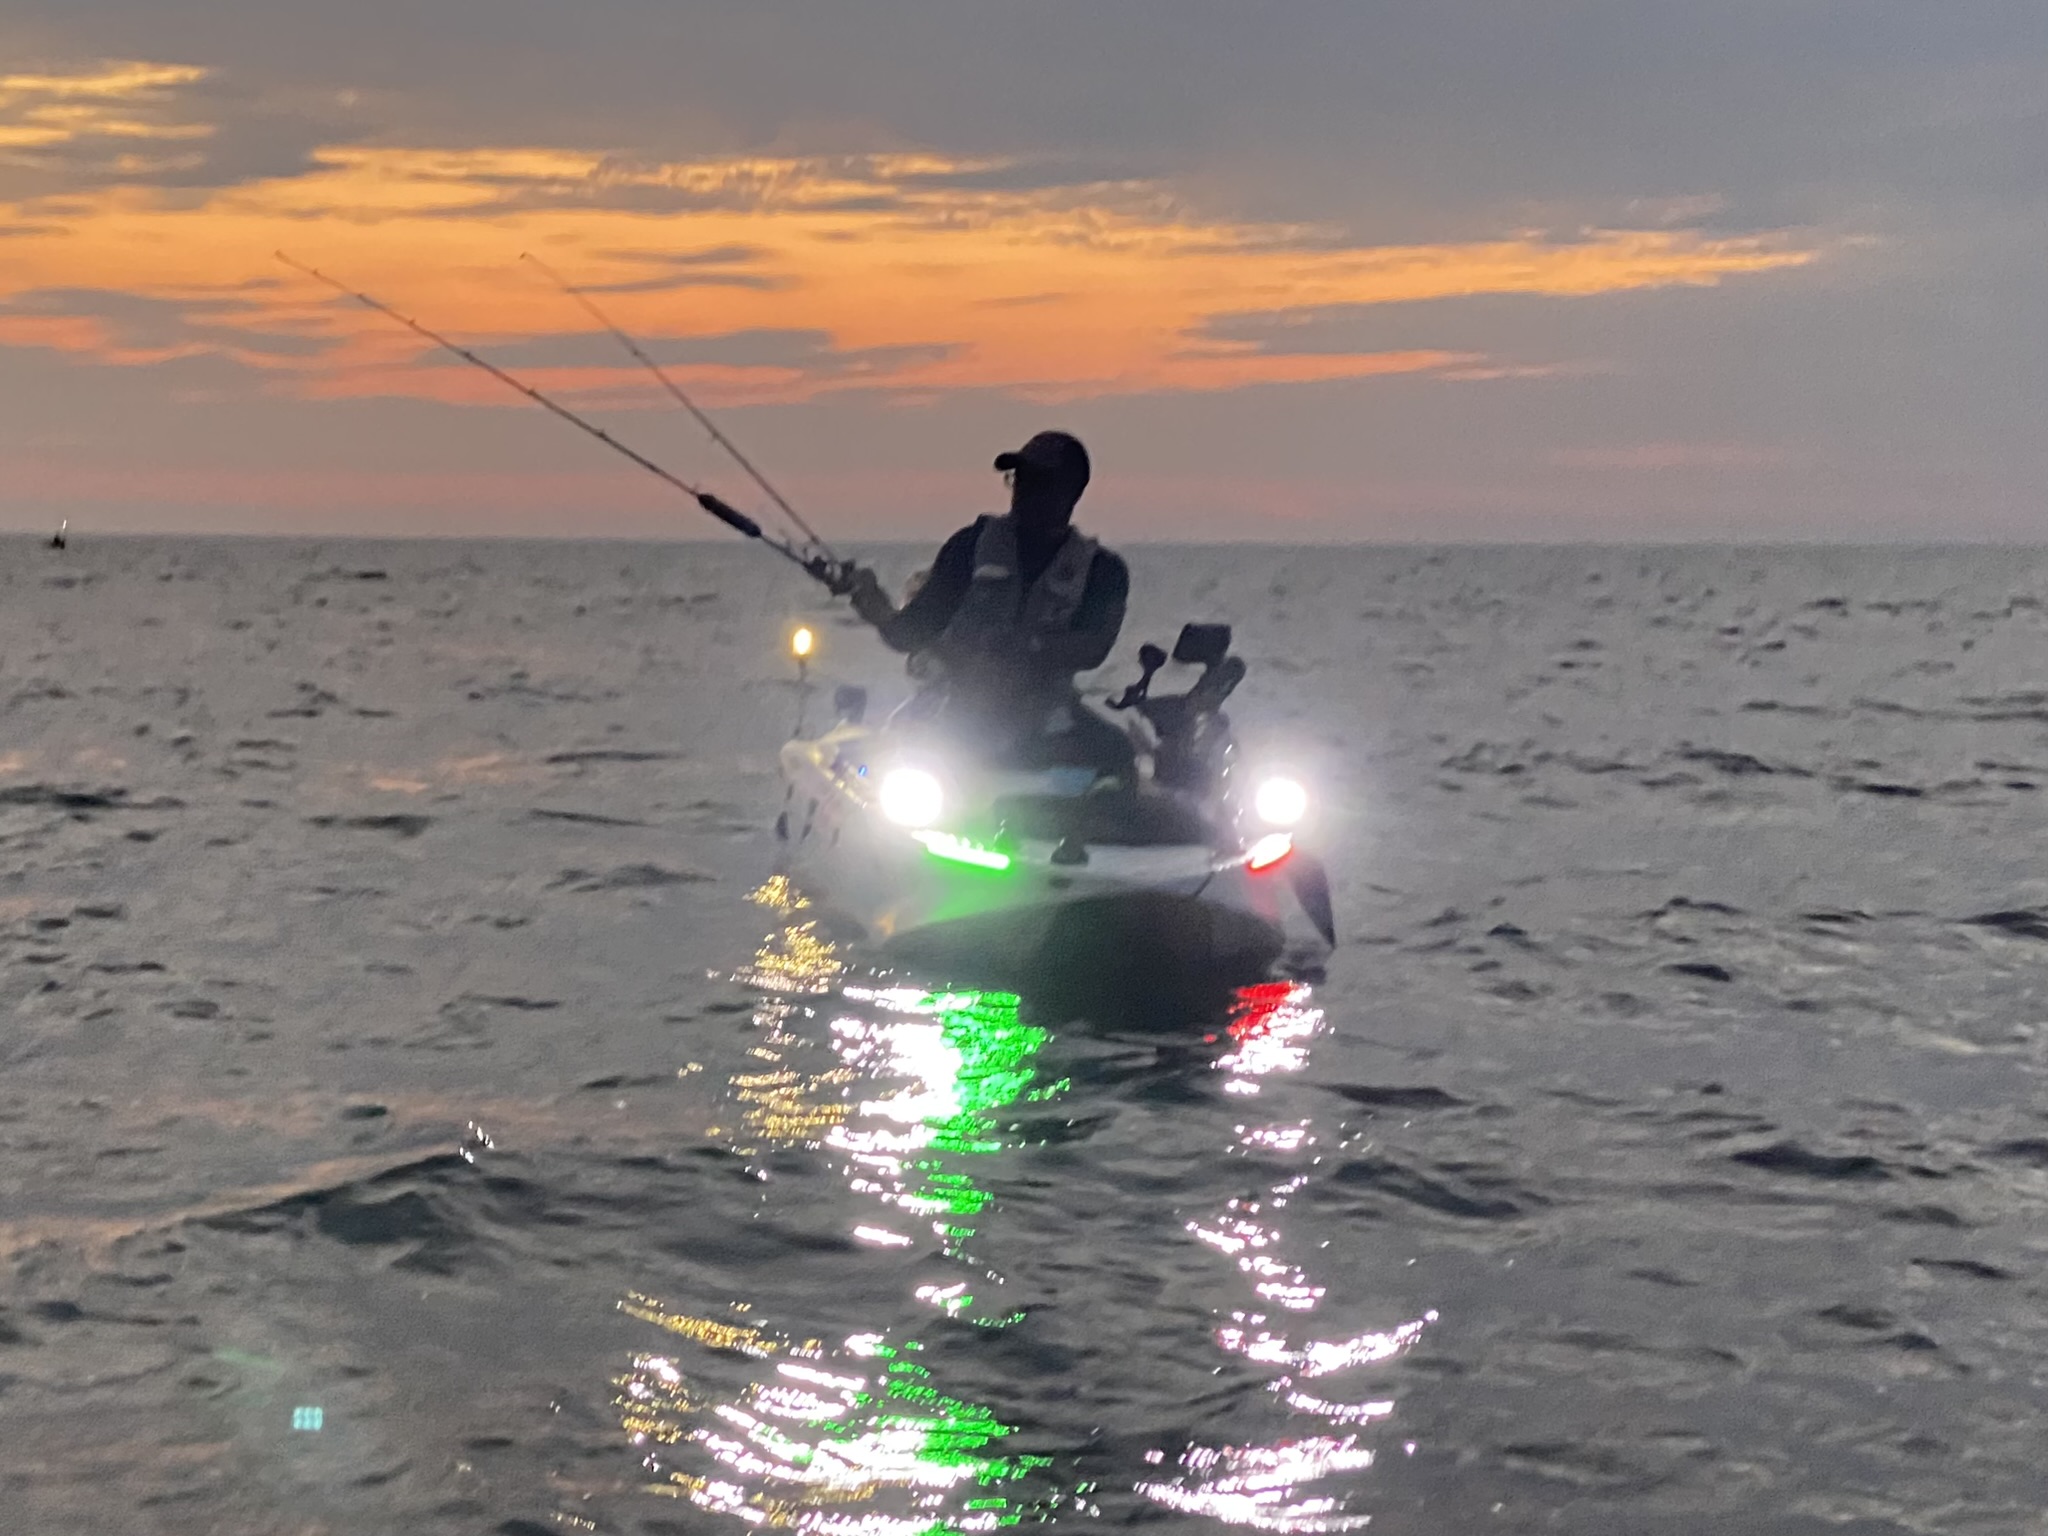
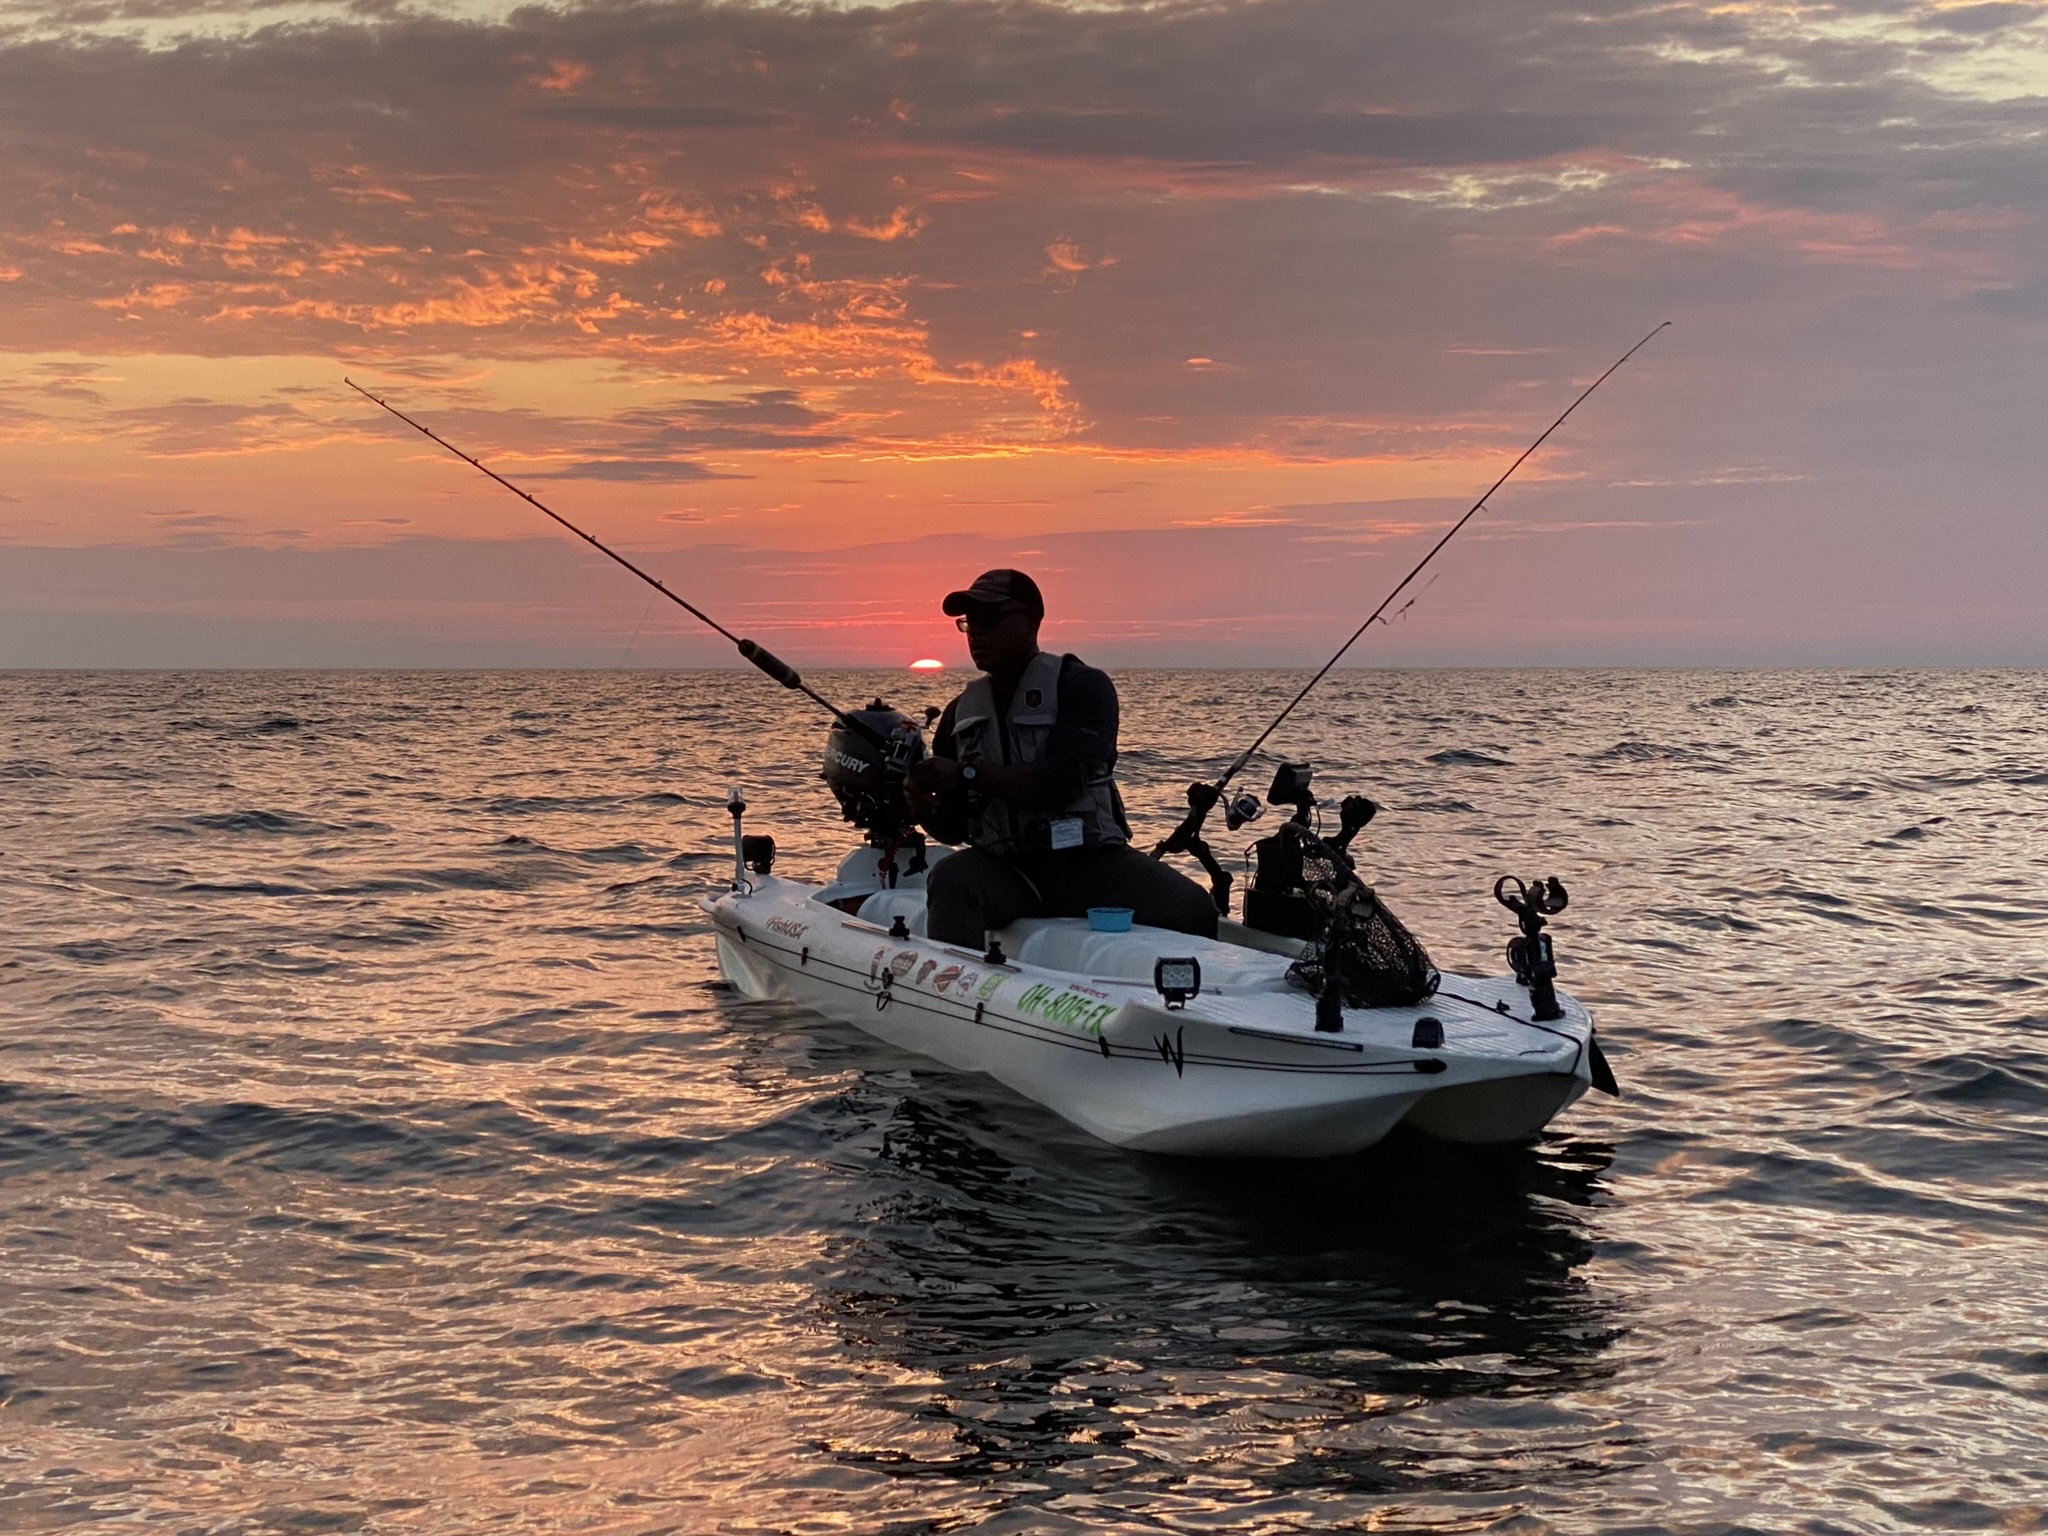
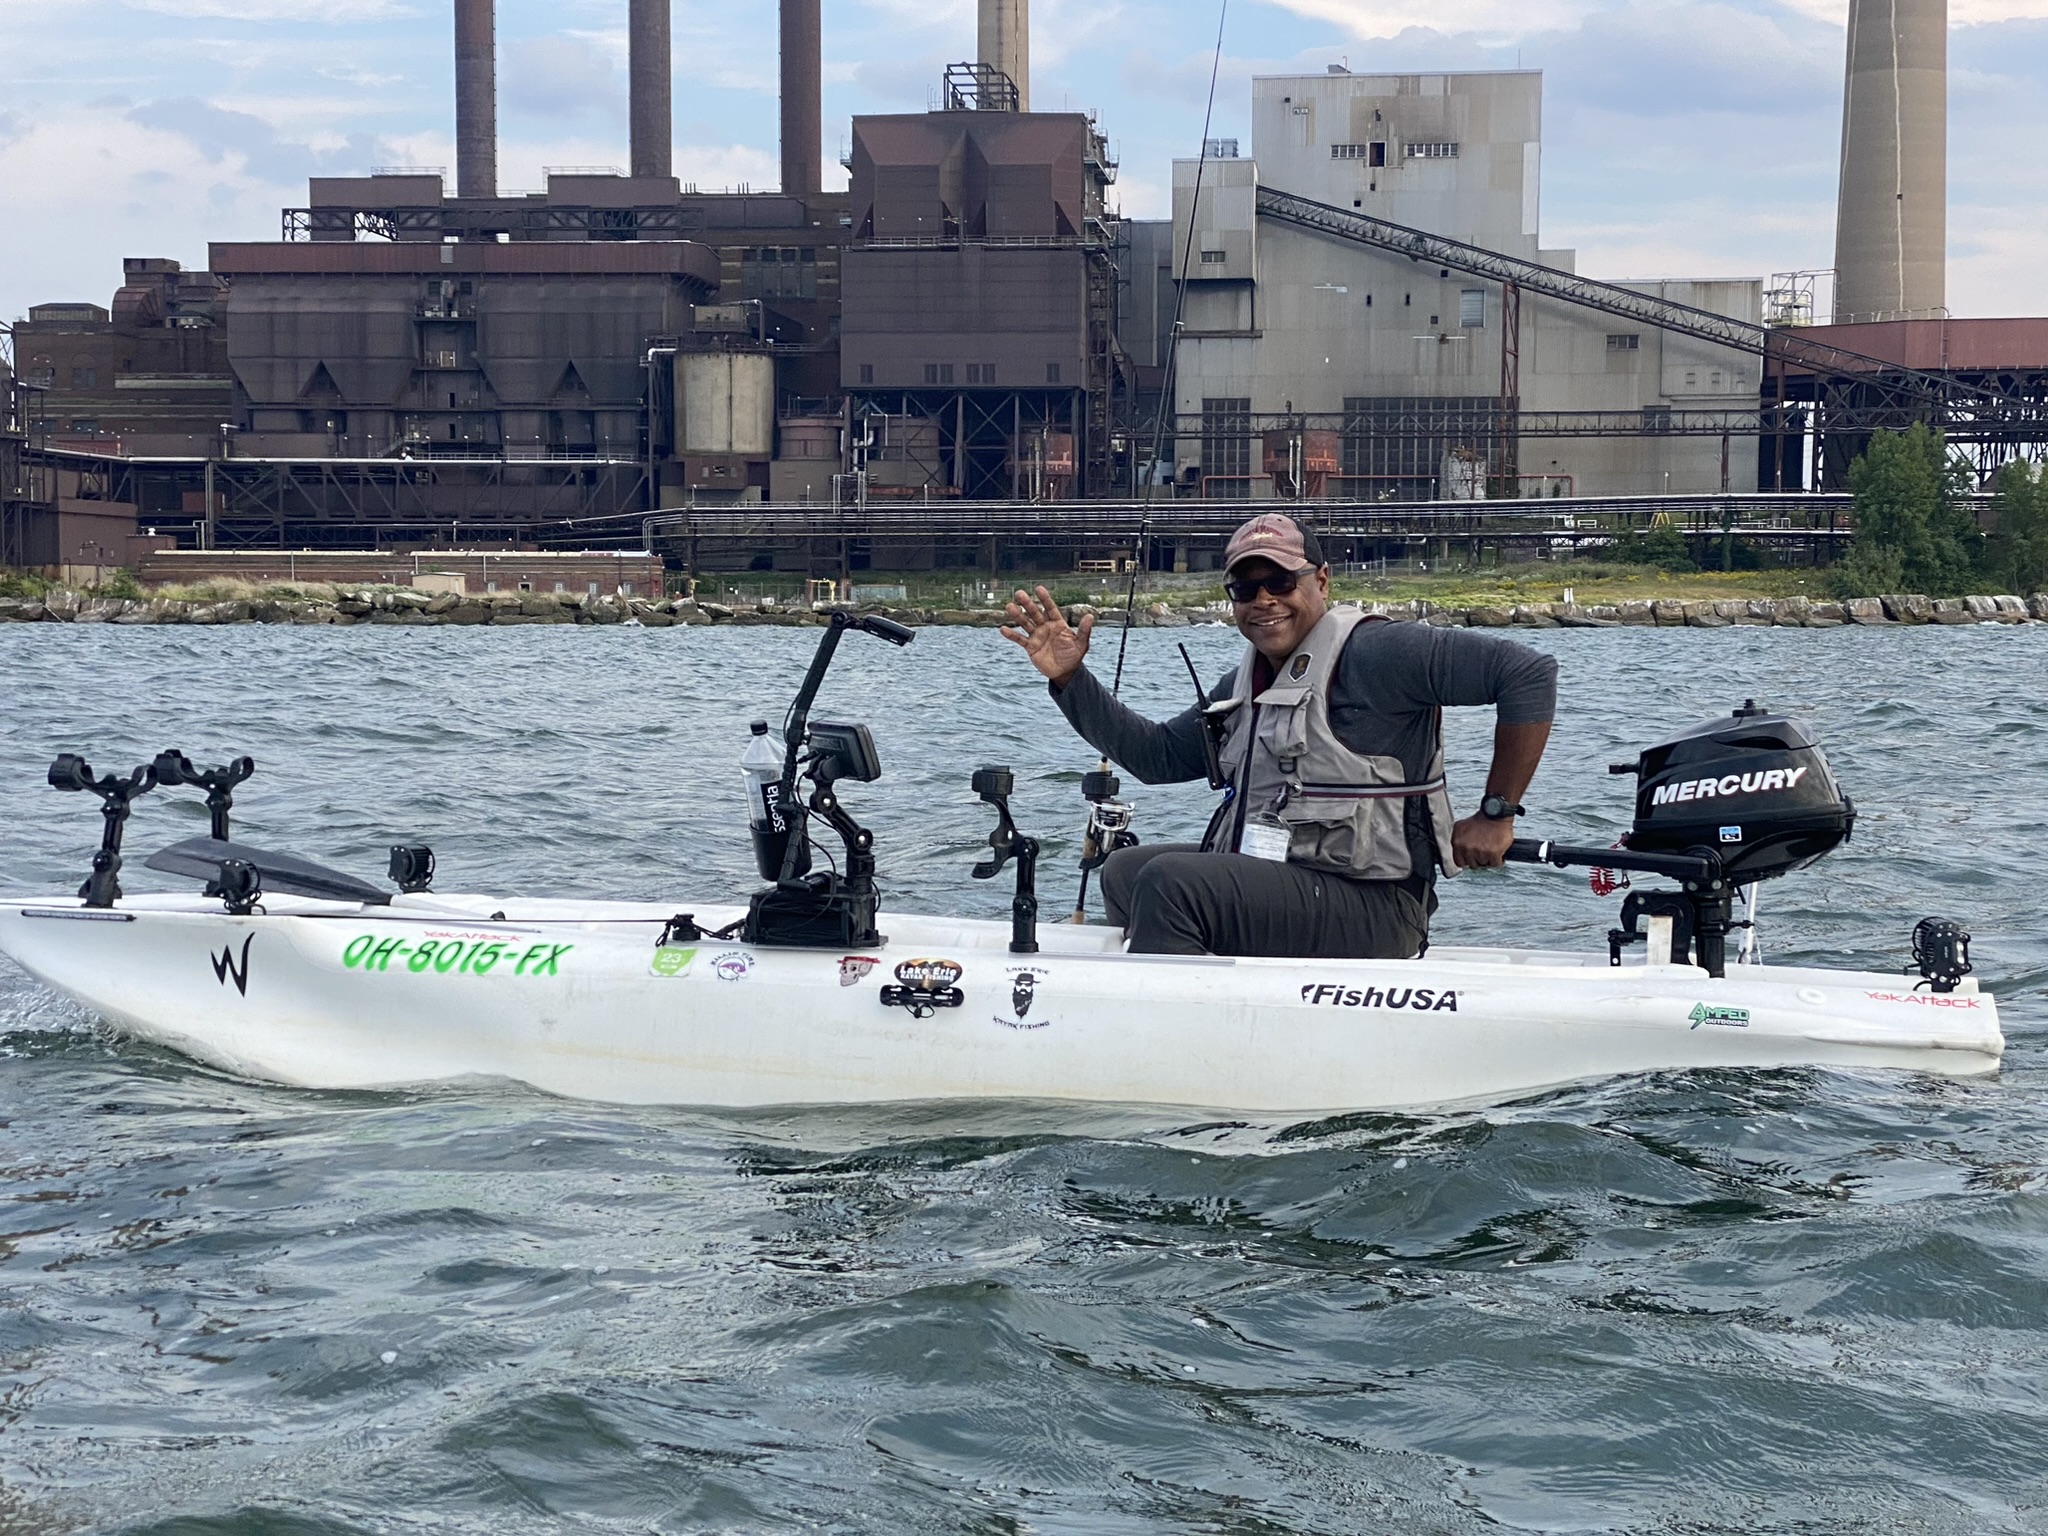
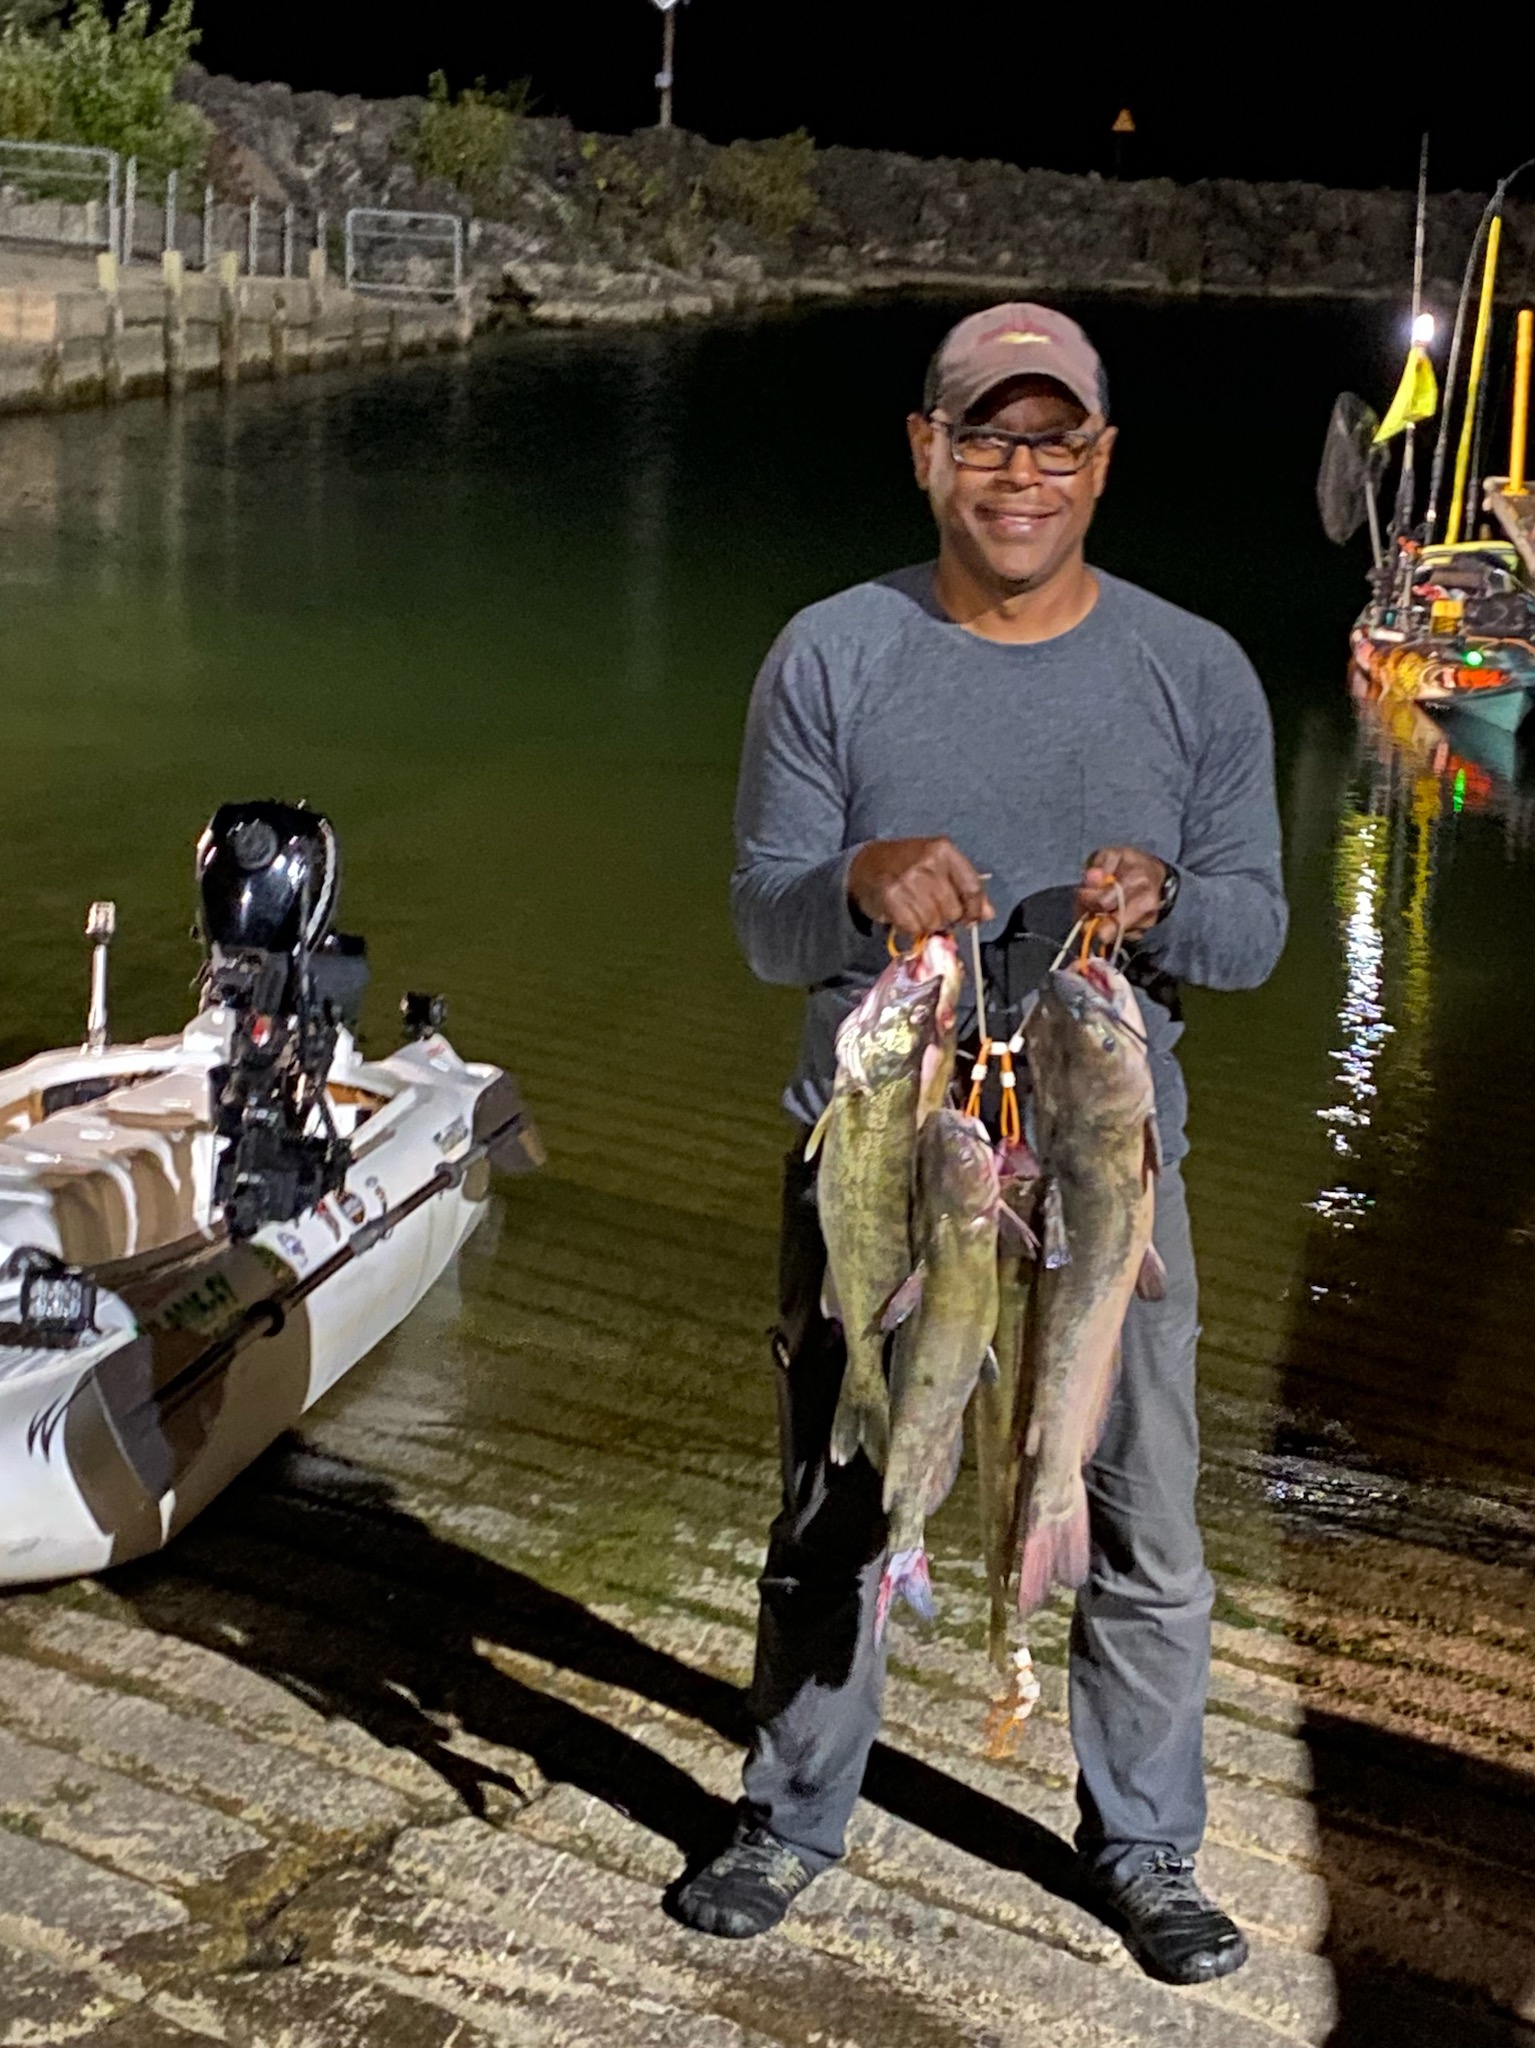
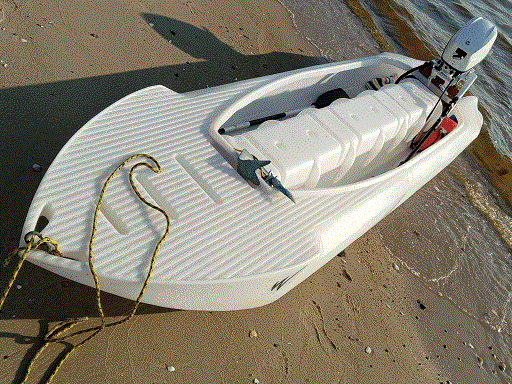
Ohio
I use this boat for fishing the Ohio river, and I’m planning to start fishing at night.
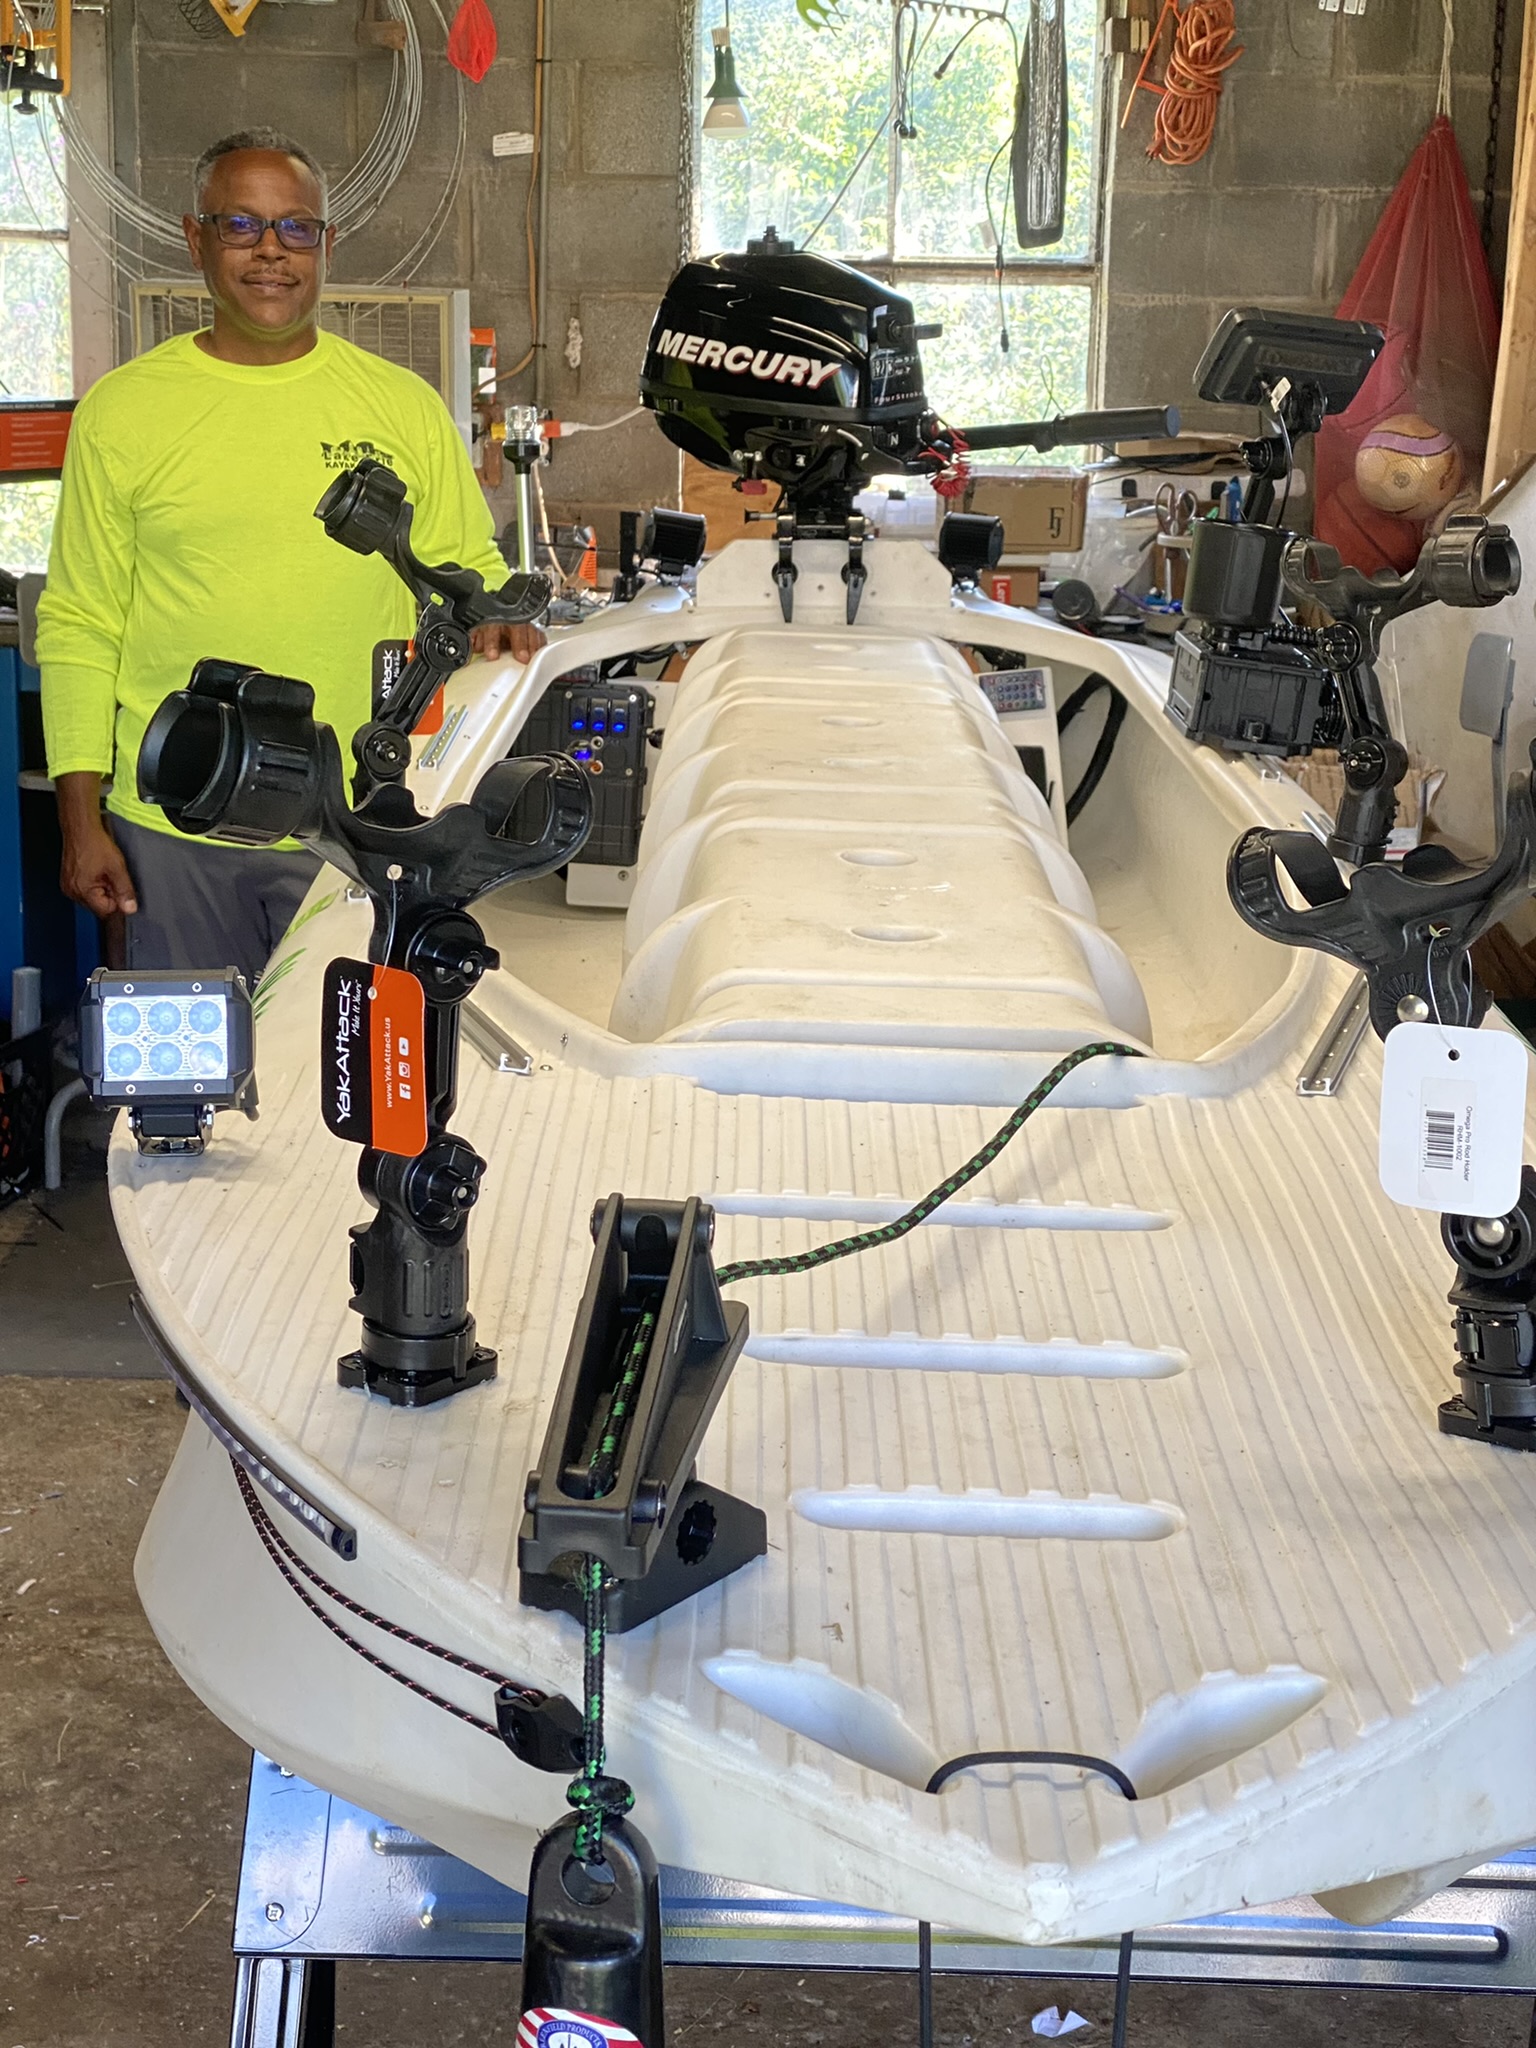
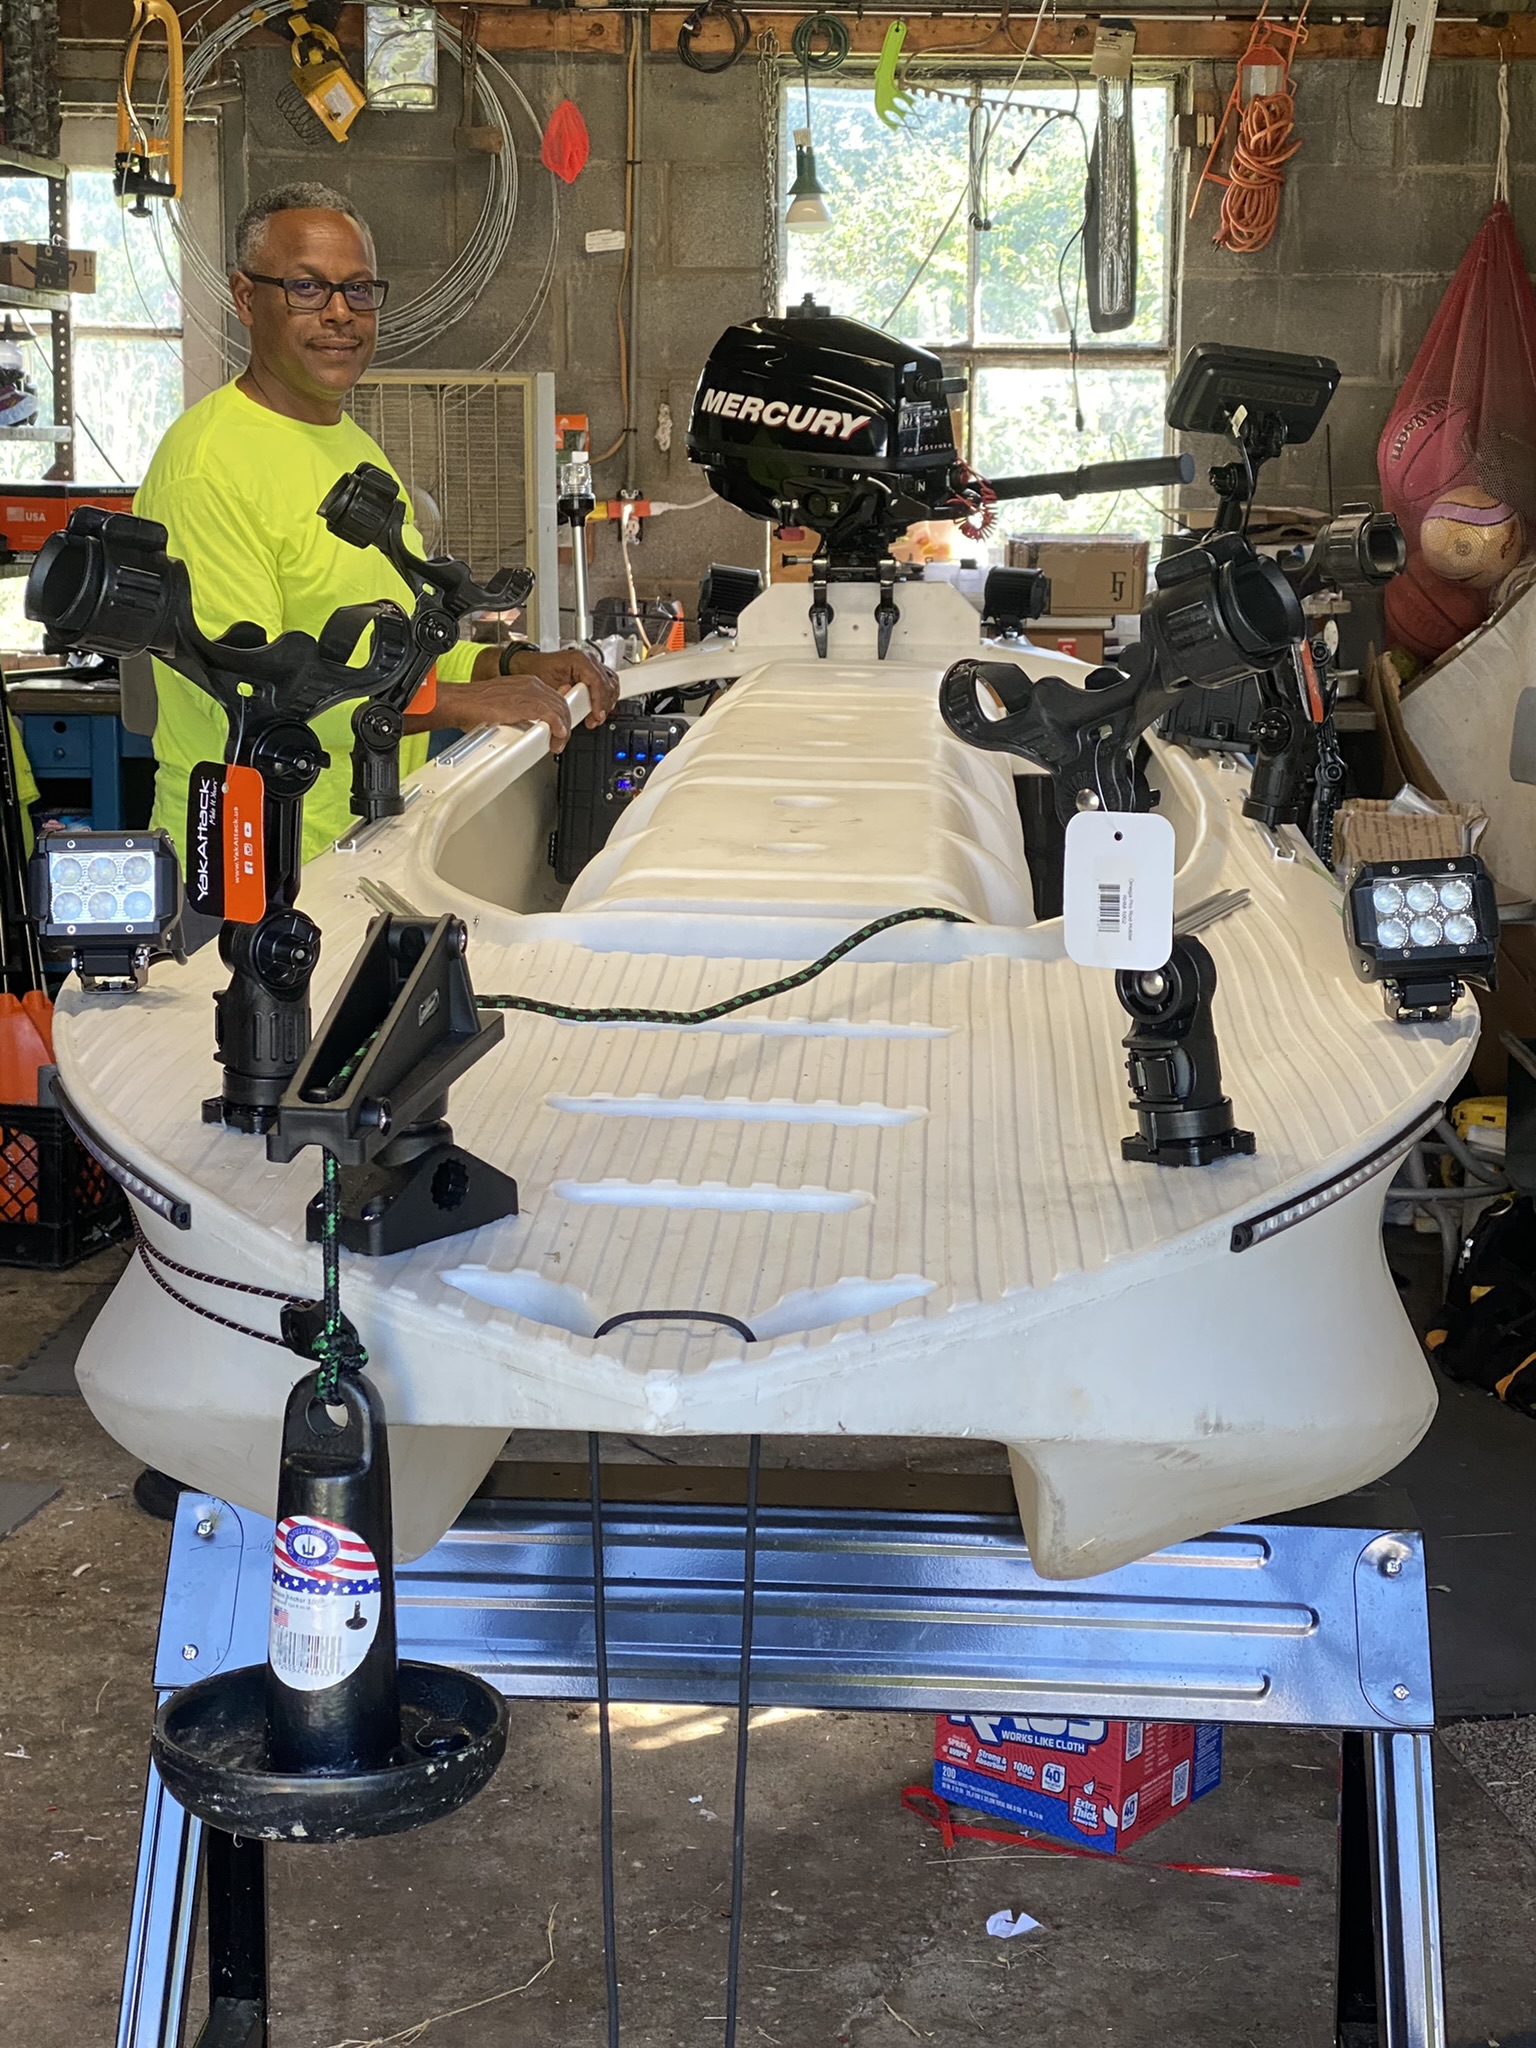
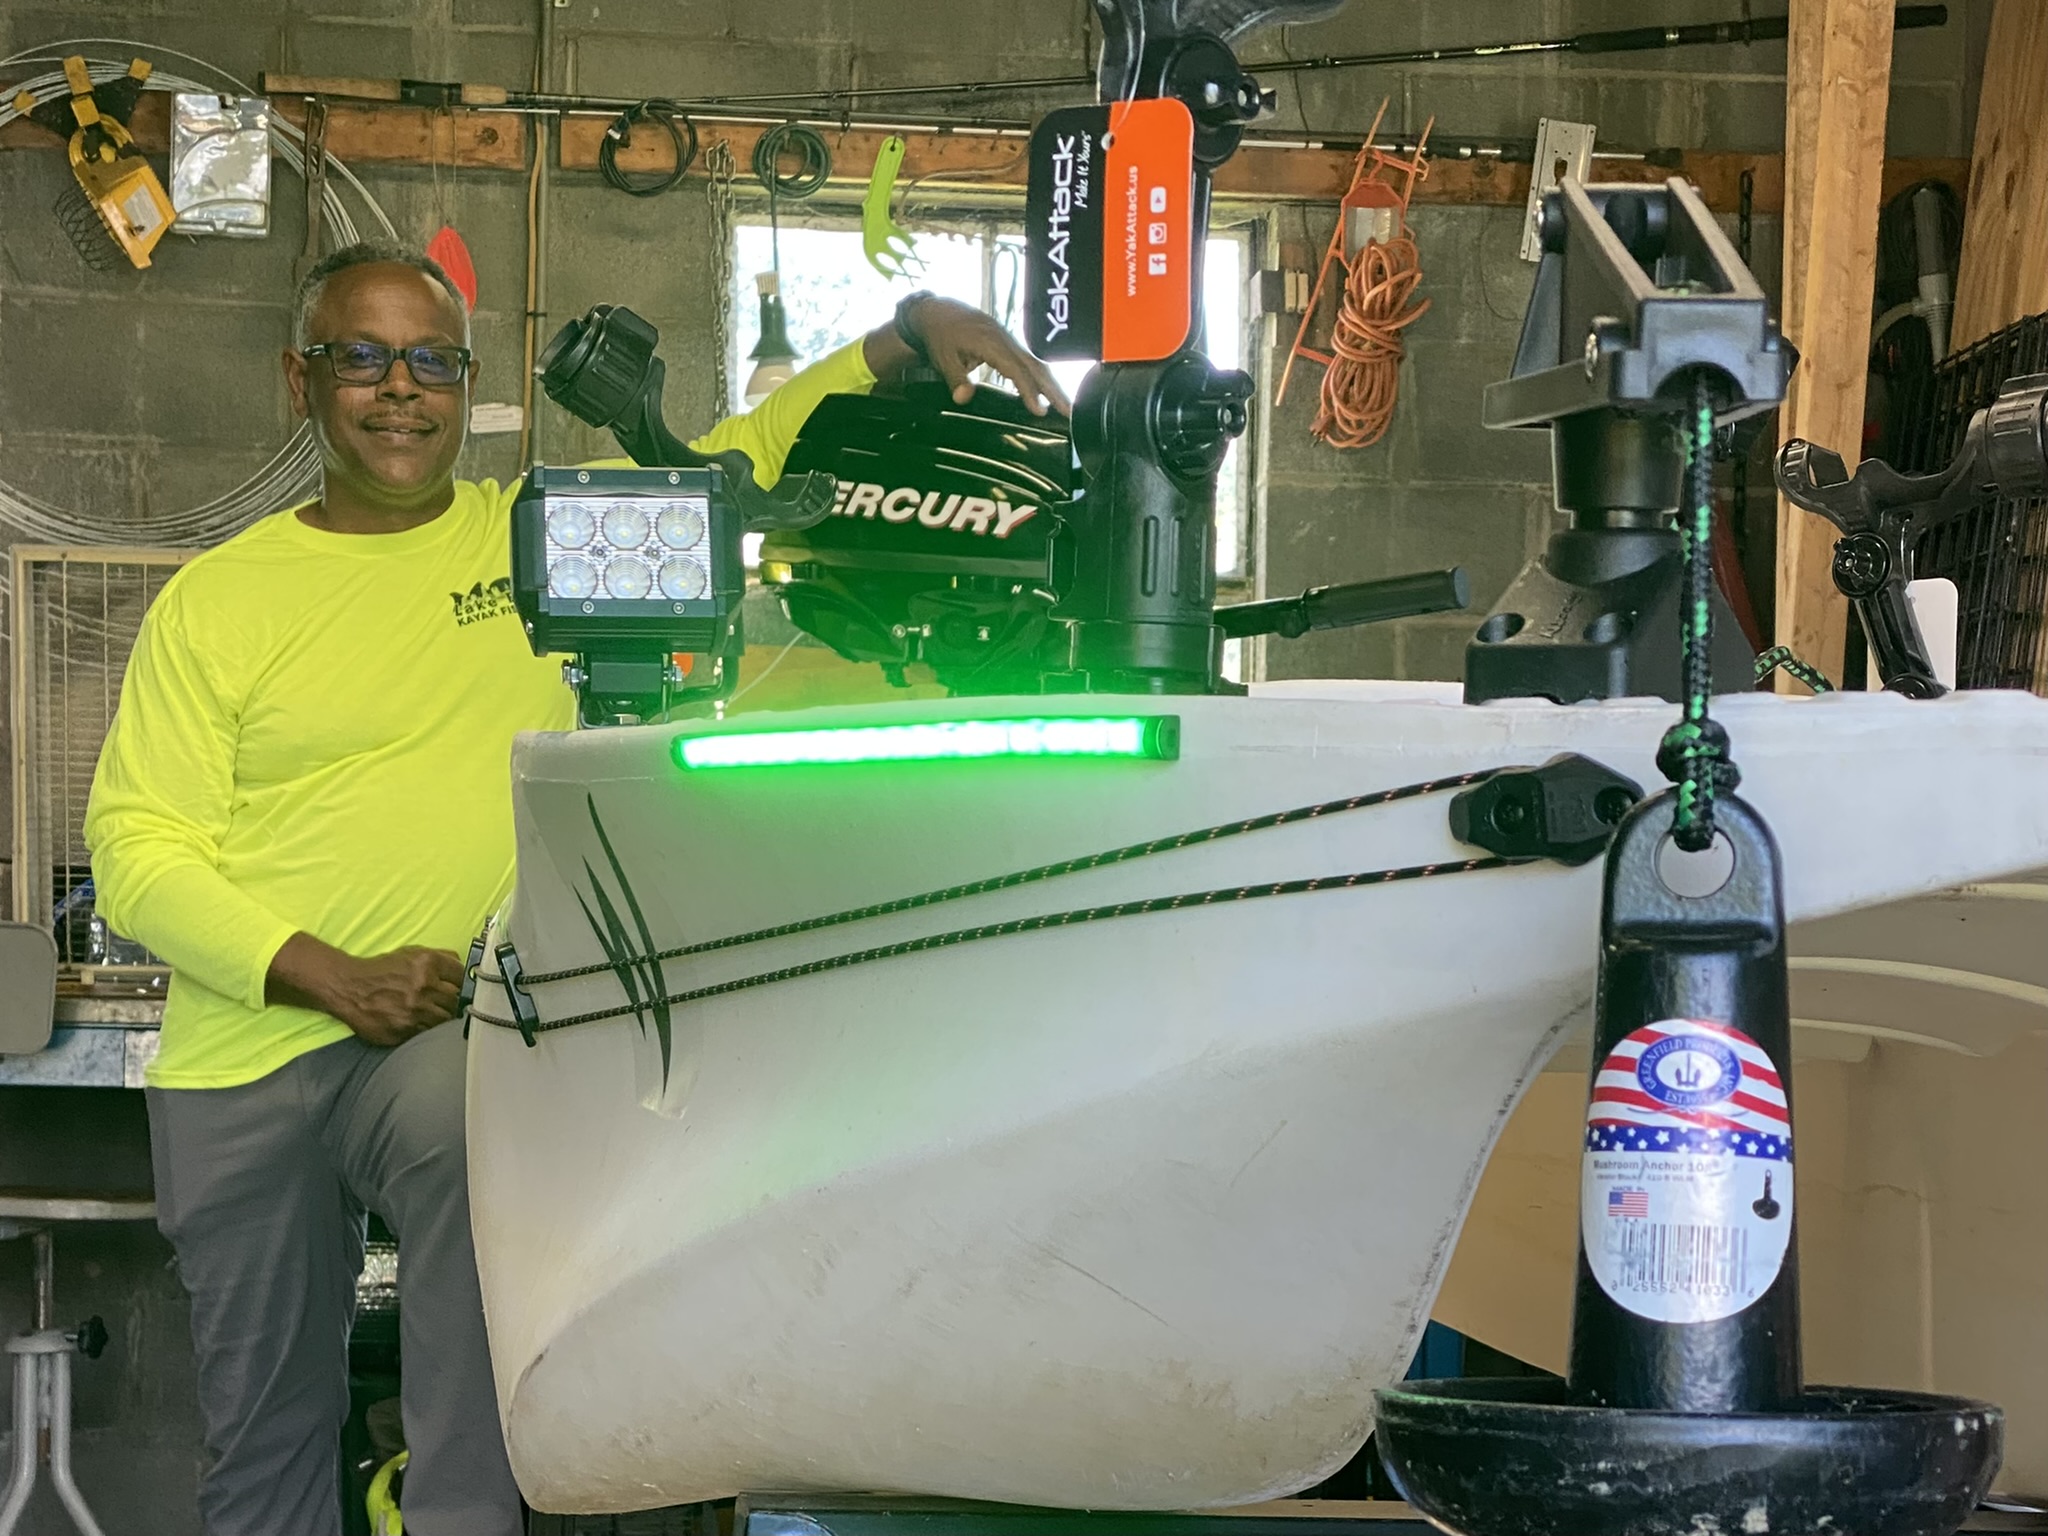
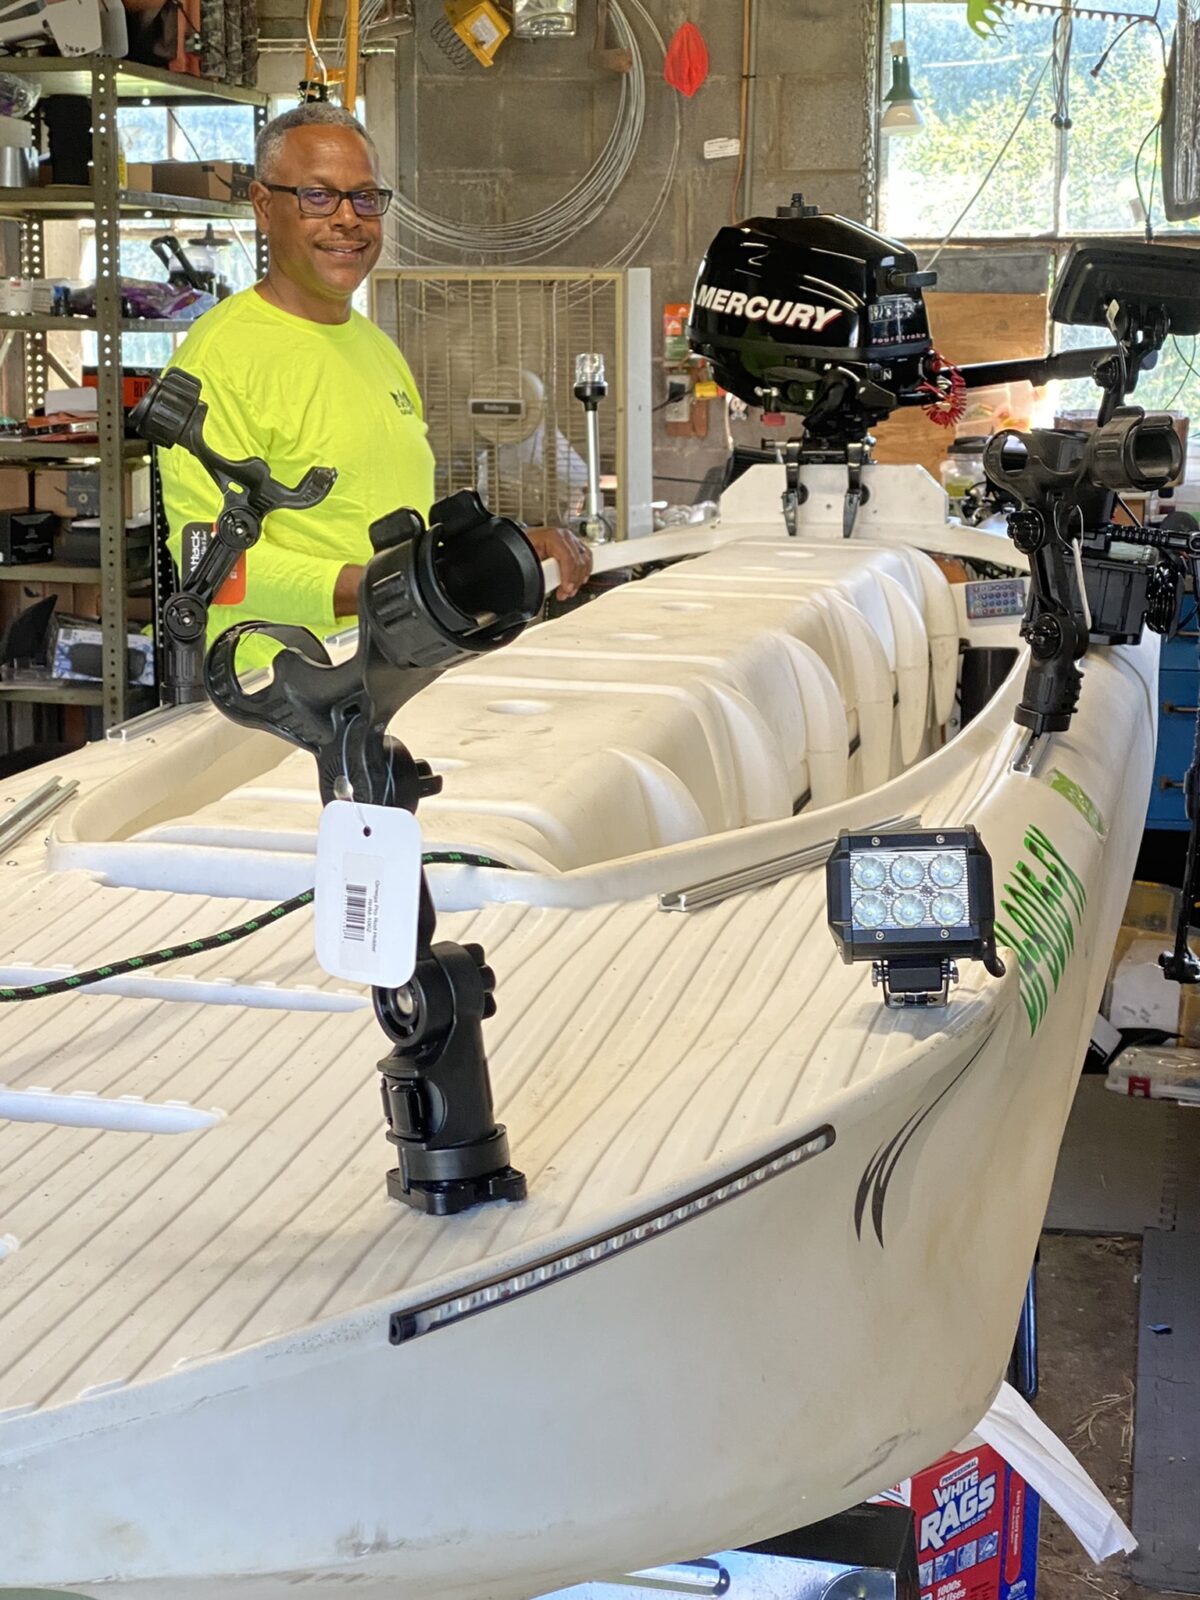
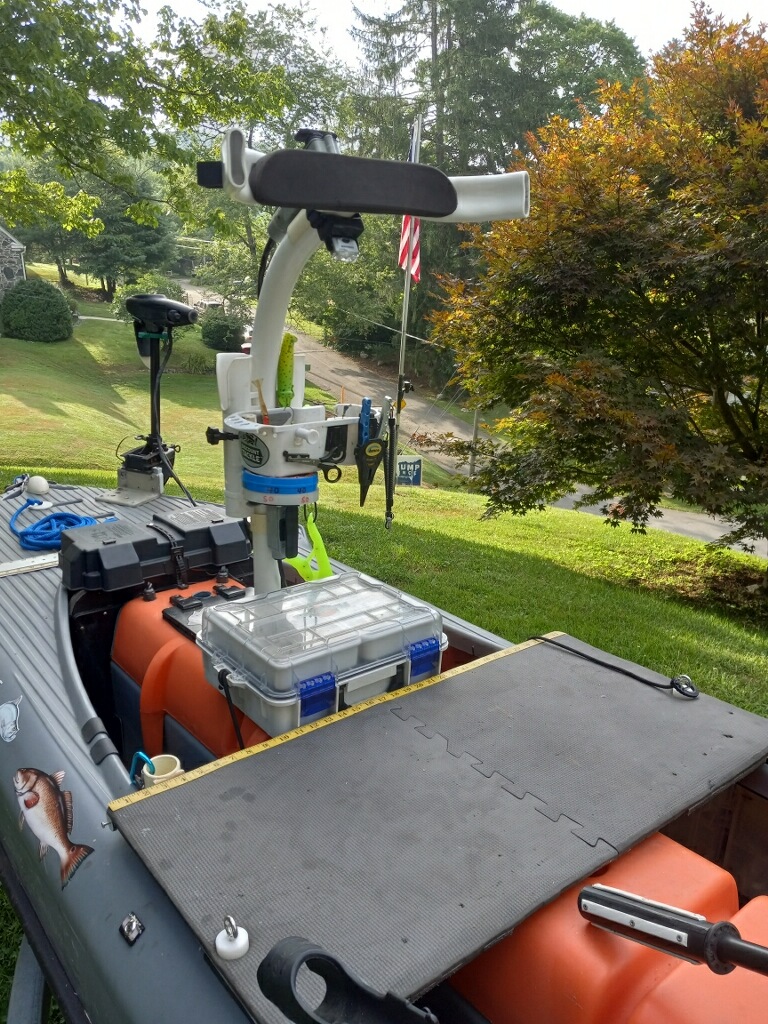
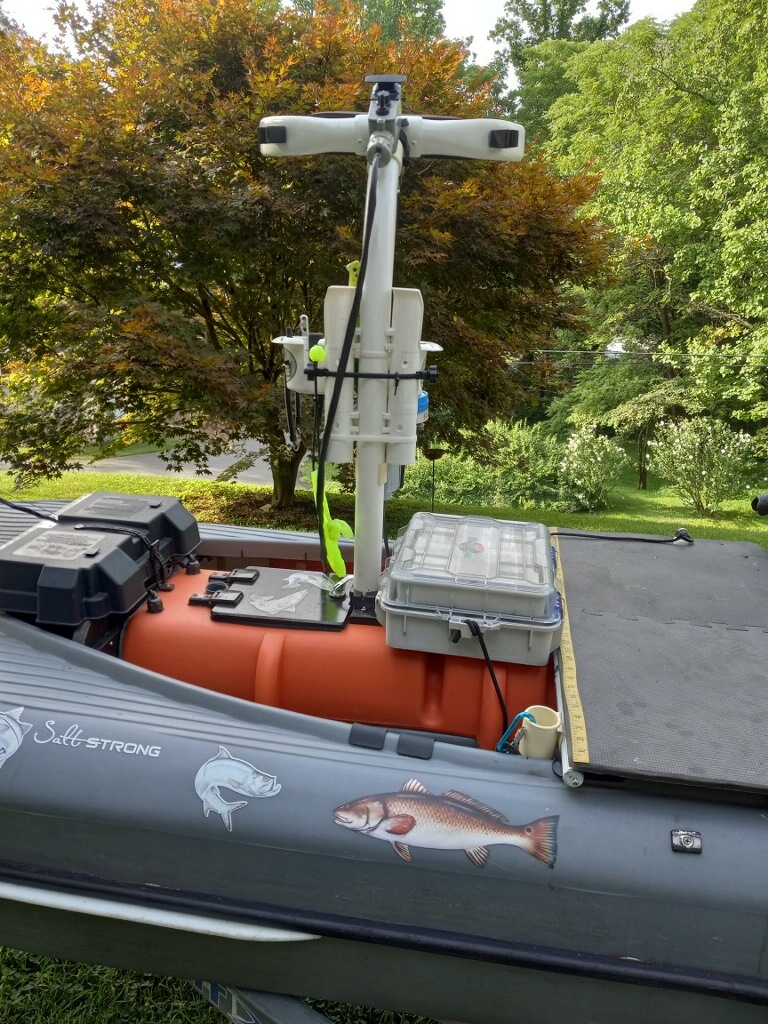
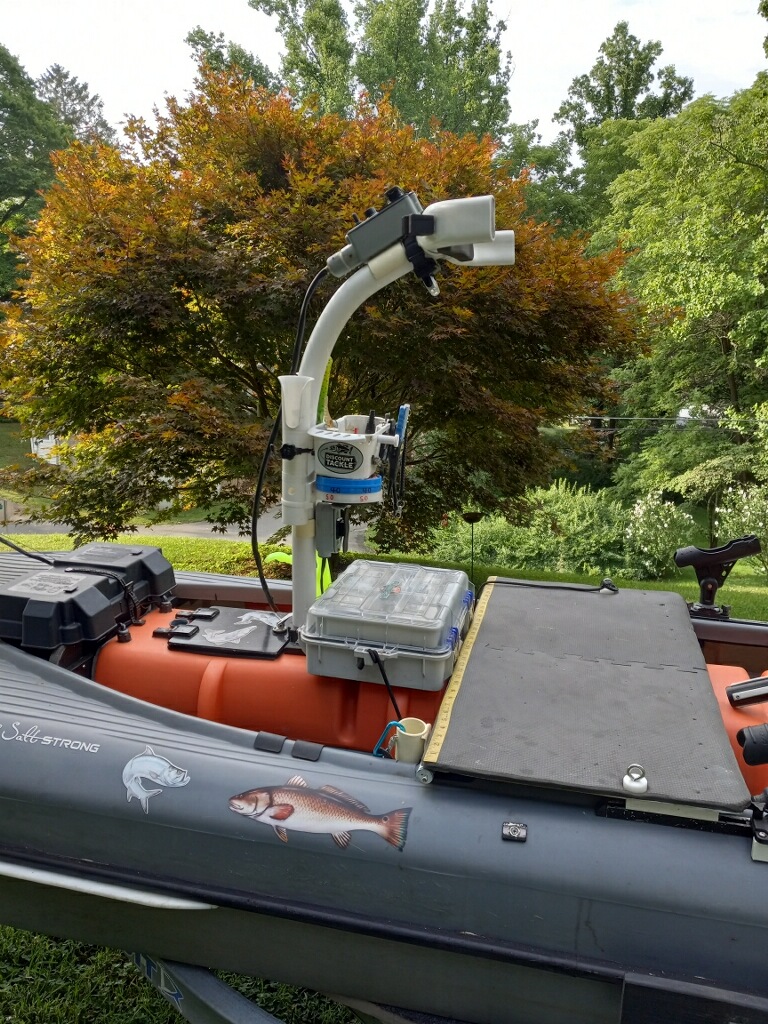
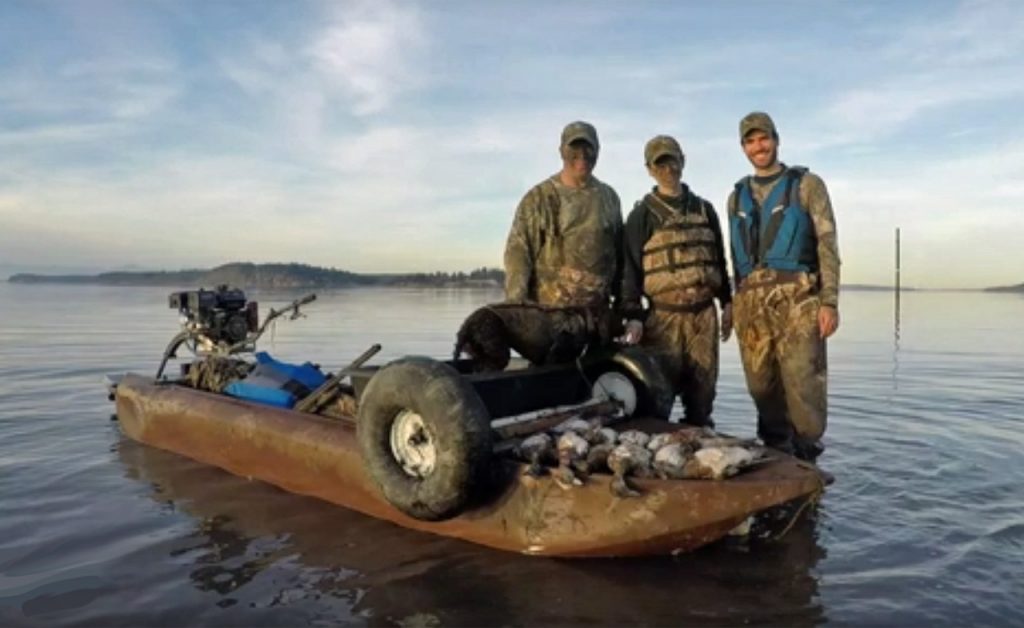
North Carolina / Florida
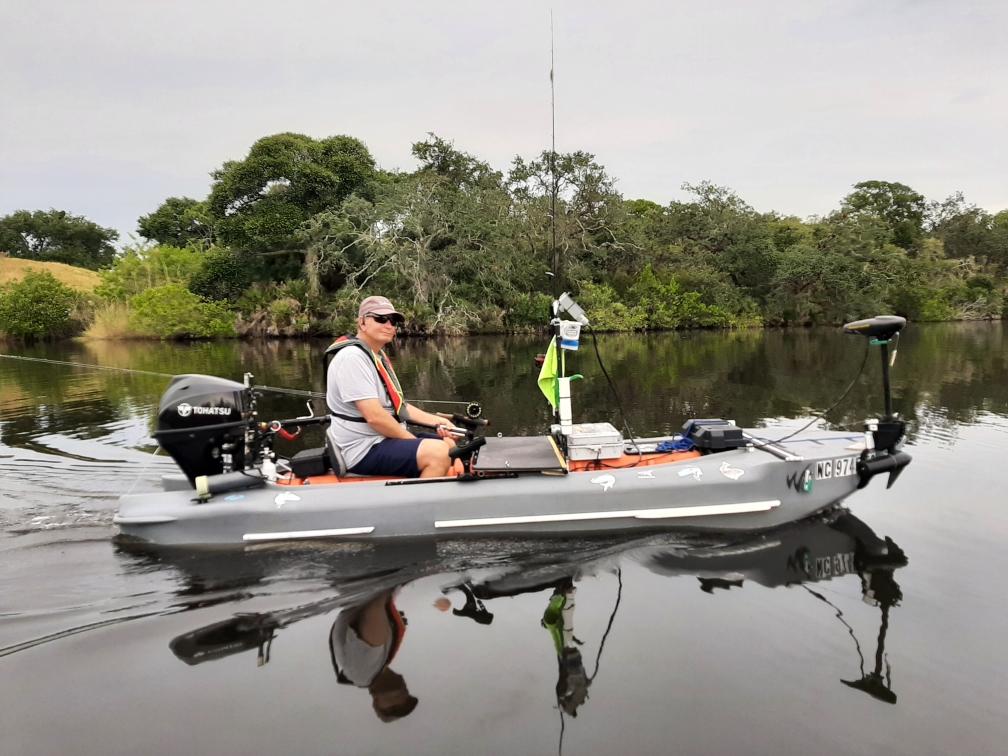
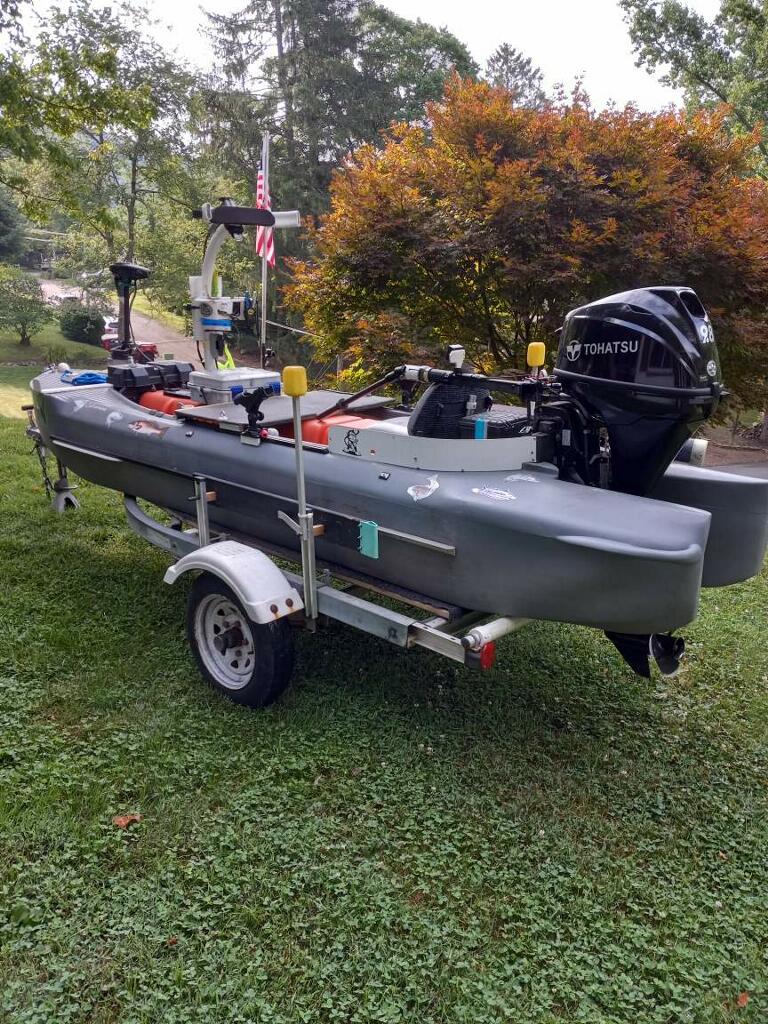
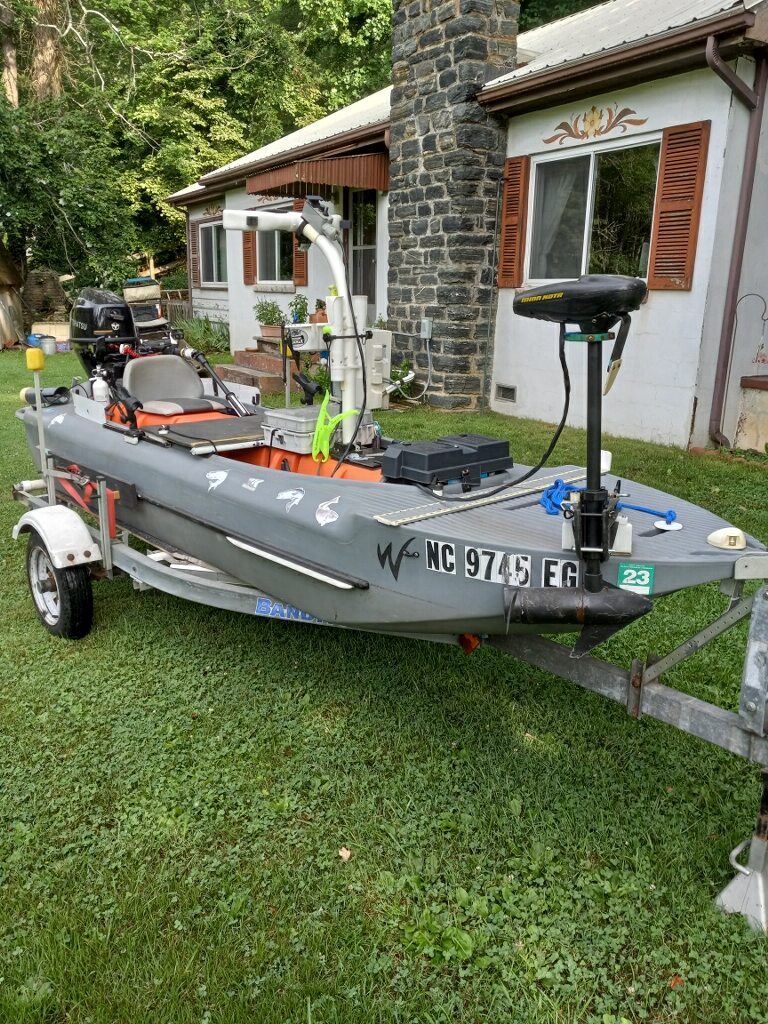
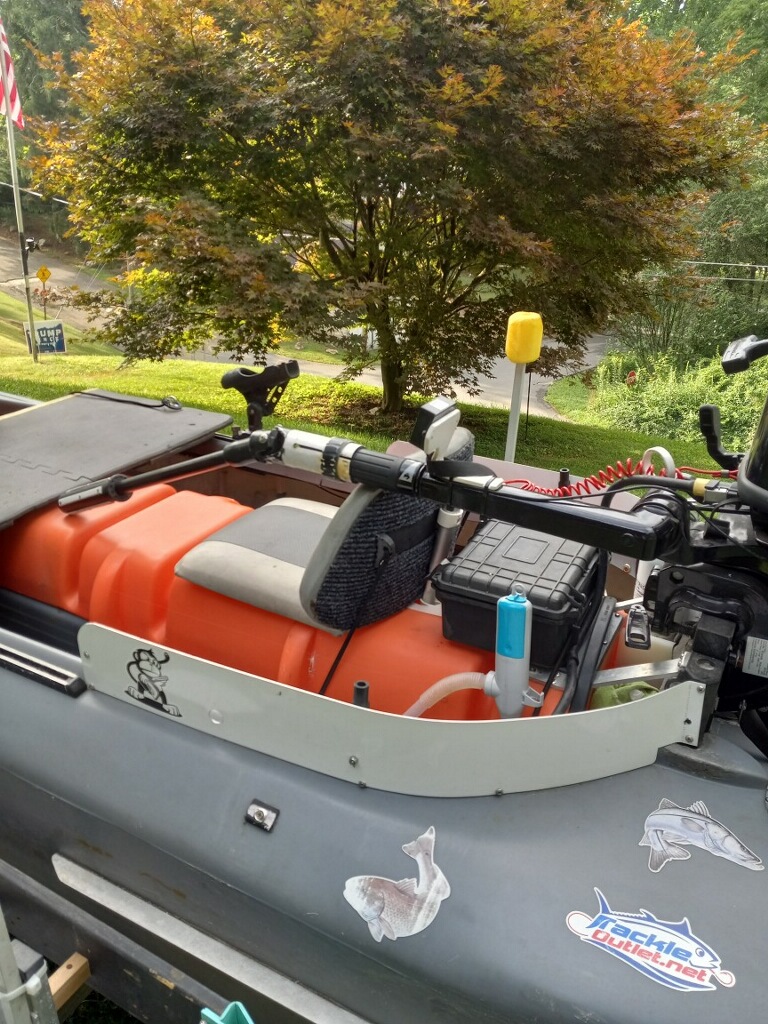
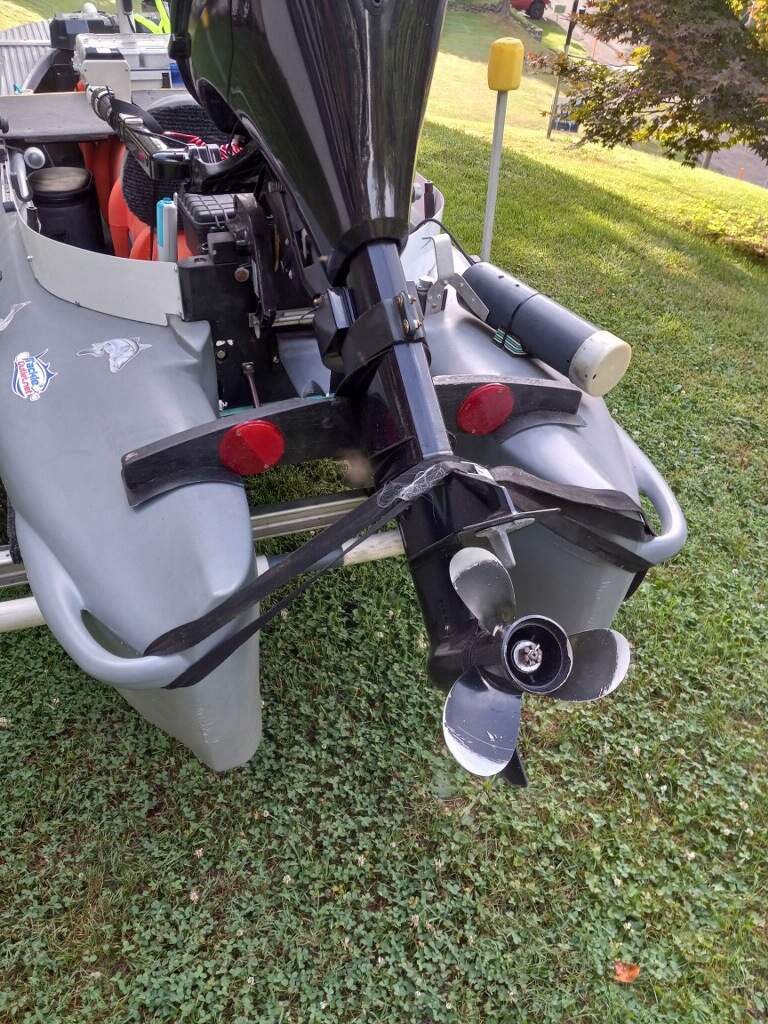
I have upgraded my s4 from the first pics I sent. I’m using it exclusively in the intercoastal waters in Florida catching snook, tarpon, and red fish. I have done a lot of modifications to make all this work.
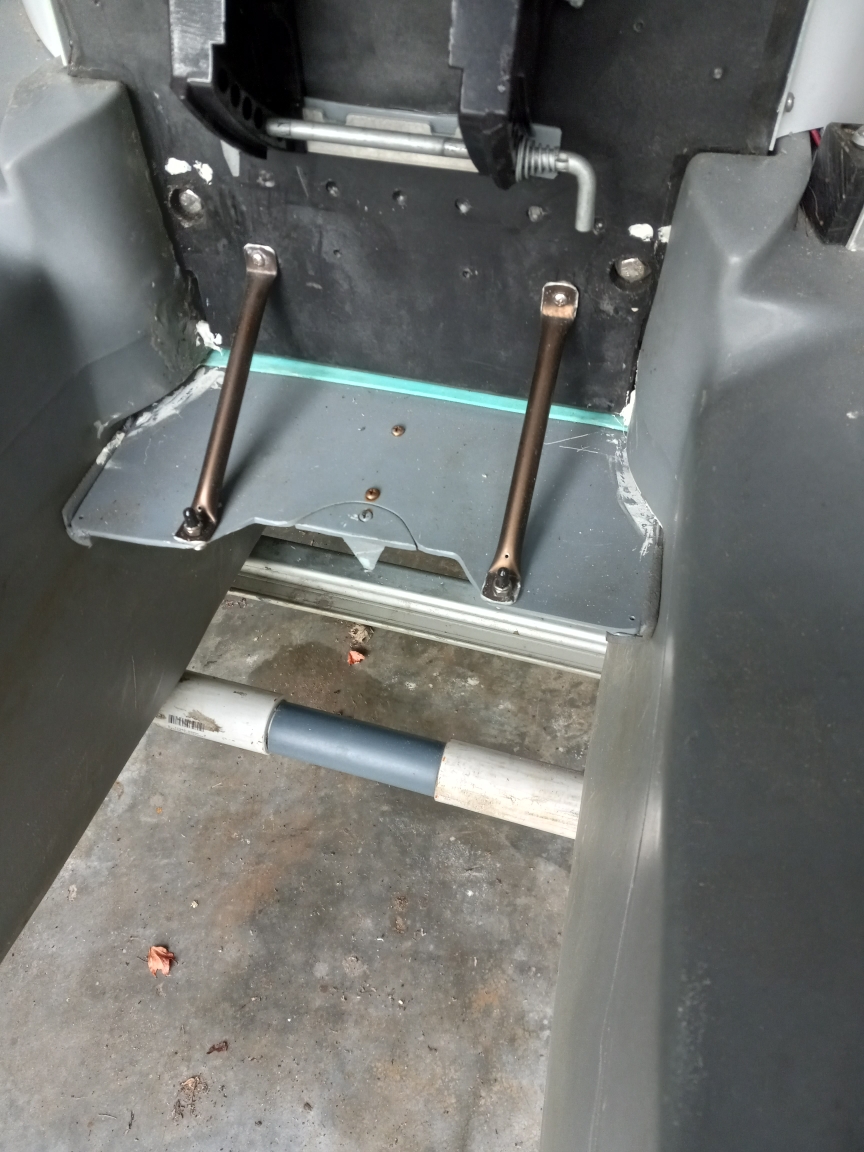
This article offers suggestions for making a wheel cart for your kayak, portable boat, kayak-skiff and cartop microskiff from the W700 and S4 series.
This article offers suggestions for making a wheel cart for your kayak, portable boat, kayak-skiff and cartop microskiff from the W700 and S4 series.
Sadly, we haven’t found a commercially available canoe or kayak cart that we like.
There is no perfect wheel cart for a portable boat, or a cartop microskiff, because the requirements from such a device can vary greatly, depending on the weight of the boat (motorized or non-motorized), the terrain on which it needs to be carried, and whether there is a need to transport the wheel cart on board the vessel.
These recommendations are valid for all types and sizes of wheel cart, regardless of boat model, and of the weight it carries. Whether you need to carry an empty W720 that weighs just 80 lbs, or a 100 lbs S4 outfitted with a 60 lbs 6 HP outboard motor, which brings the total weight of the boat to 160 lbs even before you load it with your fishing gear, you want your wheel cart to be sturdy and stable, and make it as easy as possible for you to go on whatever terrain you need to travel on.
The wheel cart design we recommend is robust as well as easy to make, even if you’re not an expert carpenter. It’s also inexpensive and durable. This design consists of a 2×4 or 2×6 lumber, a steel axle, a pair of wheels, and two latches. The axle is attached directly to the underside of the lumber “body” on which the boat rests. The wheels are mounted on both sides. The boat is attached to the wheel cart body by means of two latches.
If your W720 or S4 are non-motorized, and you don’t carry heavy gear on board, and the surface on which you’re carrying the boat isn’t abrasive (e.g. grass, sand, pebbles), consider dragging the boat sled-style, with no wheels. It can make things simpler and easier, and it won’t necessarily damage the boat.
A central beam is attached to the middle of the wheel cart, and it stretches forward along the center line of the boat. The front tip of the beam is attached to the tip of the boat’s bow (S4) or bows (W720).
Pulling a boat that’s attached to such enhanced wheel cart is easier, because the beam helps keep the wheels going straight forward, and not sideways, as they might tend to do if they’re not attached properly. This full fledged cart is too big to take on board your vessel, so this solution works only for users who can leave their cart on shore after they’ve reached the water.
Do you have any questions for us?
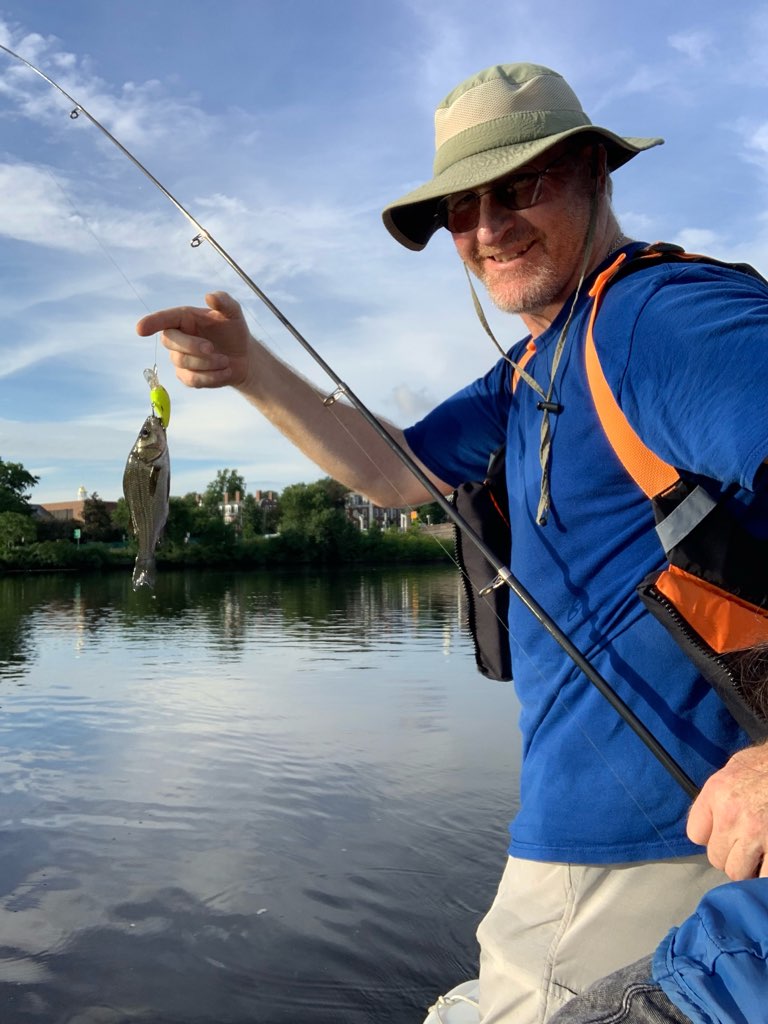
Massachusetts
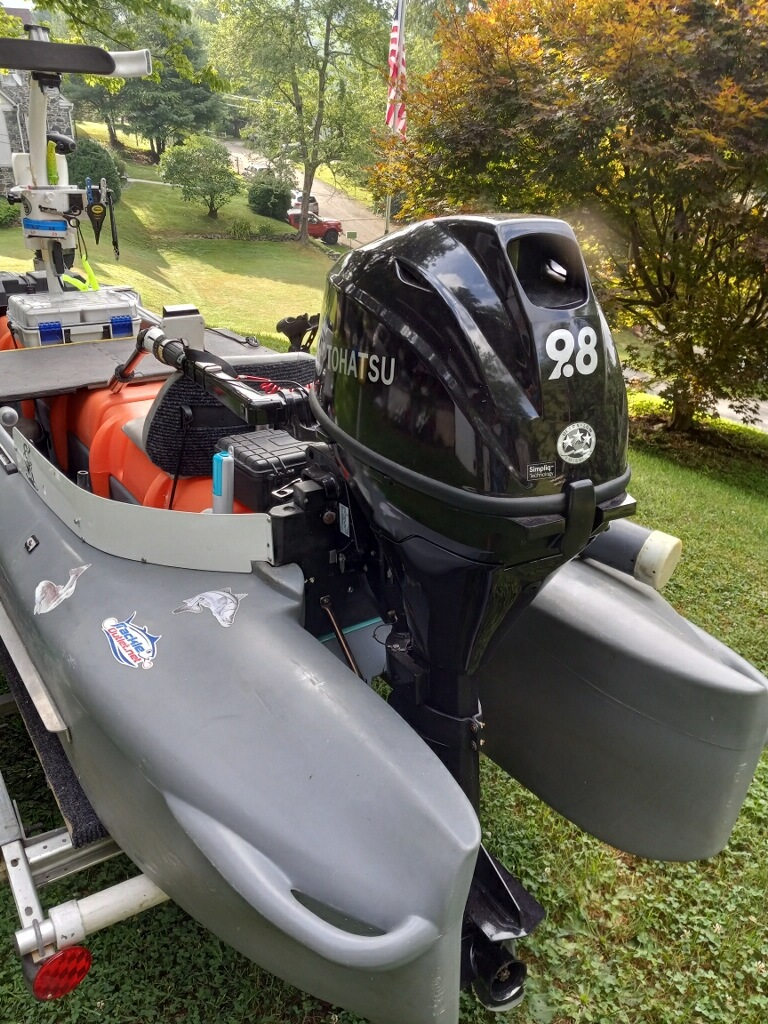
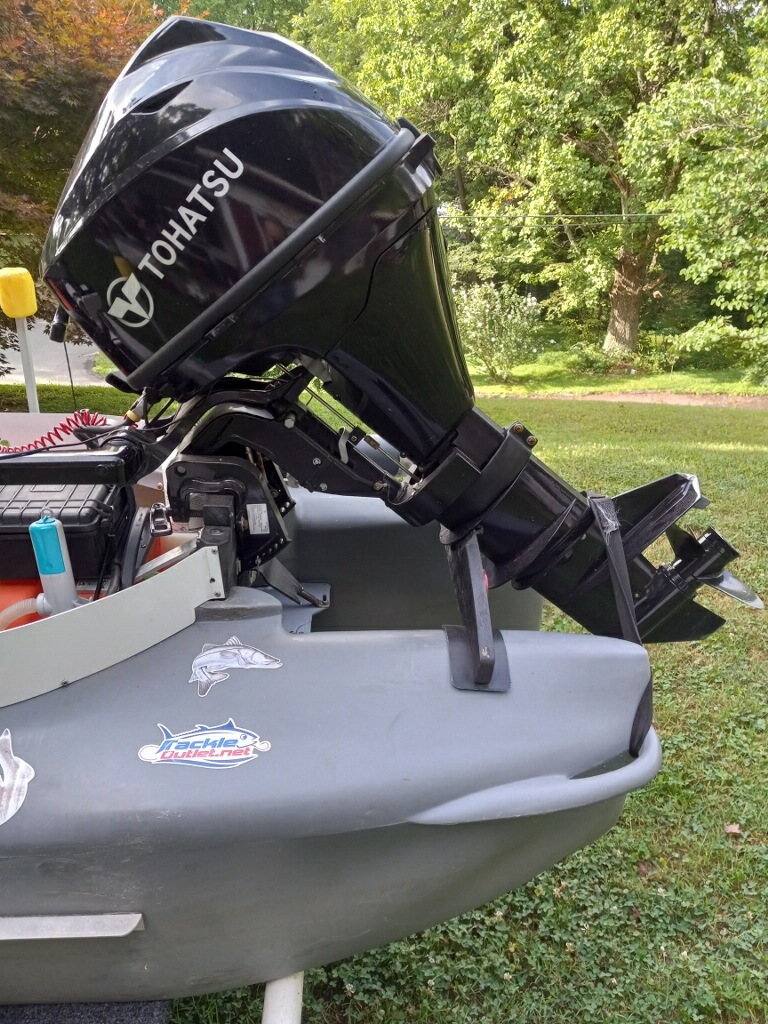
My S4 has been great, I took it out in the Charles river last fall with the 6hp outboard. I’ve done some pond fishing with it both paddling and with the electric trolling motor. Looking forward to getting a lot of use this summer.